How to Take Family Portraits on a Shoestring
I’d like to share some helpful hints for taking family portrait photos on a budget, as well as how I ended up in the rewarding world of portraiture after years of taking random (and disappointing) snapshots. Hopefully, this post will be of interest to family photographers looking for less expensive equipment, as well as beginners looking to capture nice portraits of people. Many amateurs cannot afford expensive photography equipment and do not have the time to travel to “magical” locations, but none of this is required if you want high-quality photographs. Based on my personal experiences, I’ll show you how to keep portrait photography affordable while also having fun, both in terms of camera equipment and finding locations.
The Portrait Photography Mindset
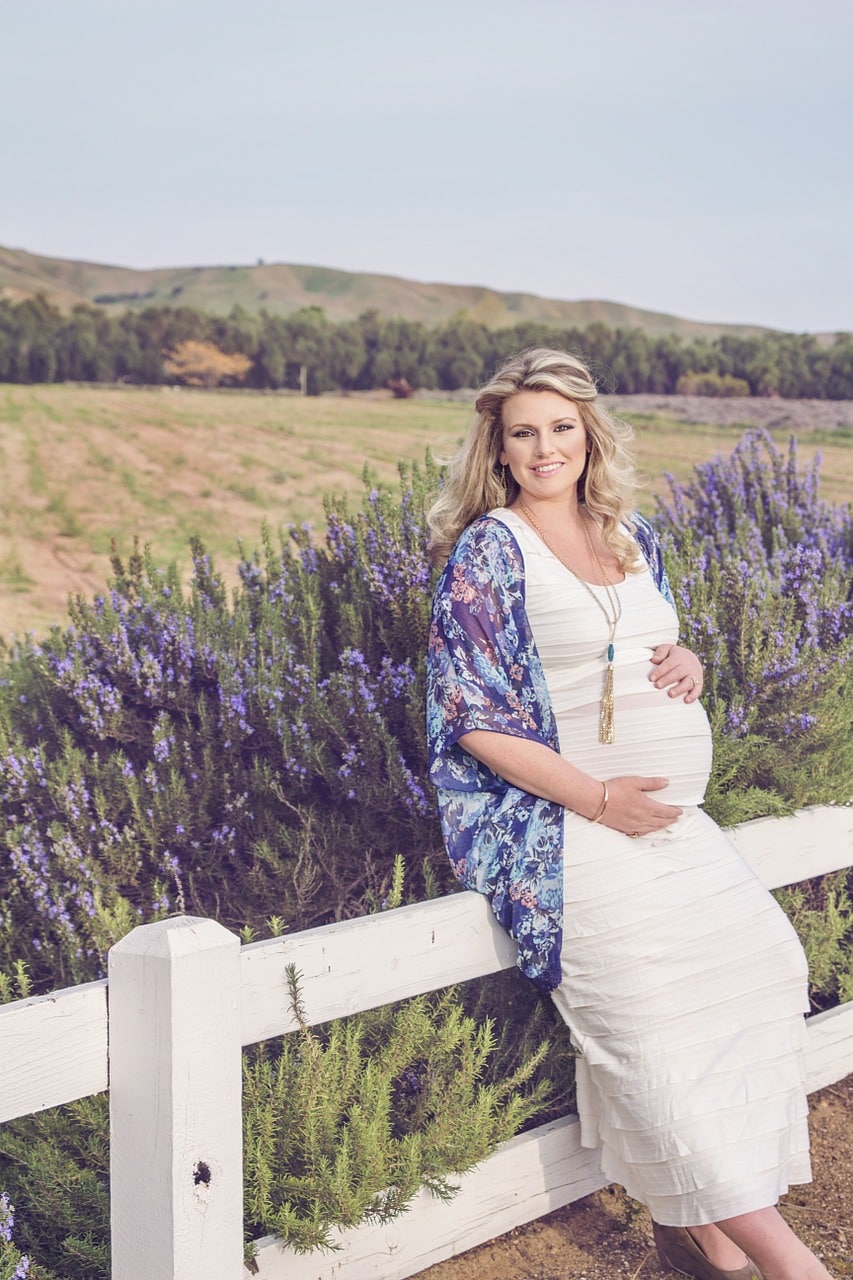
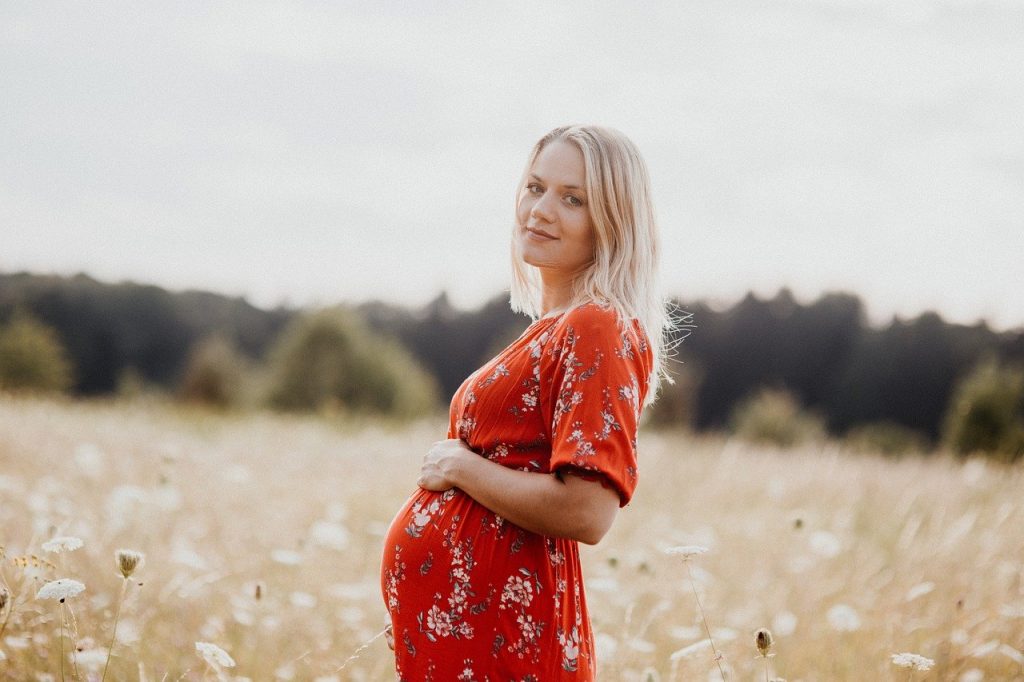
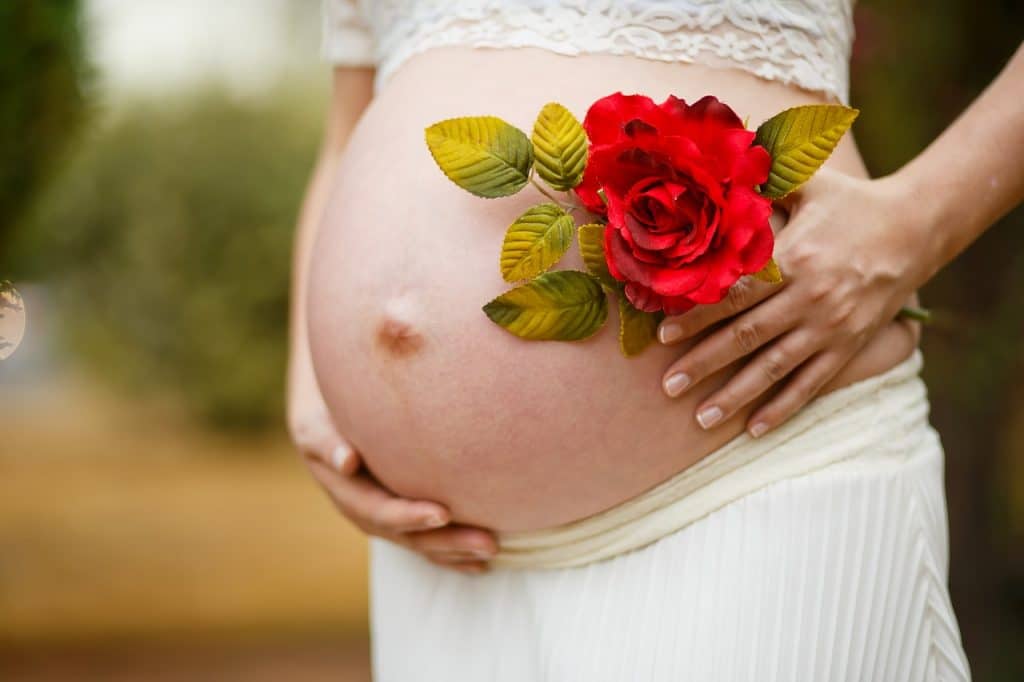
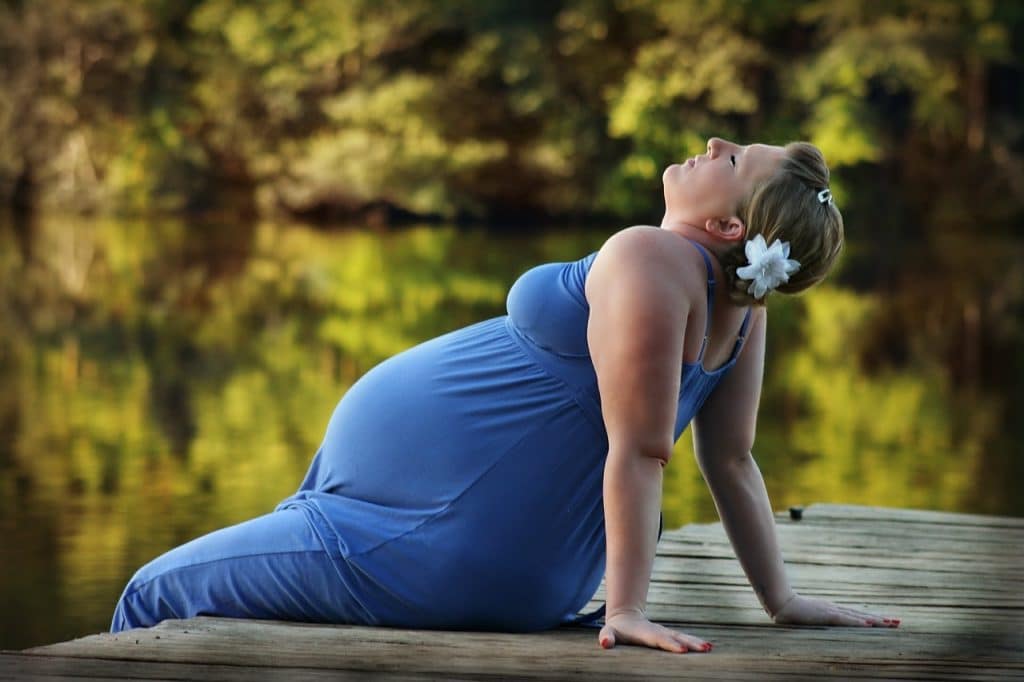
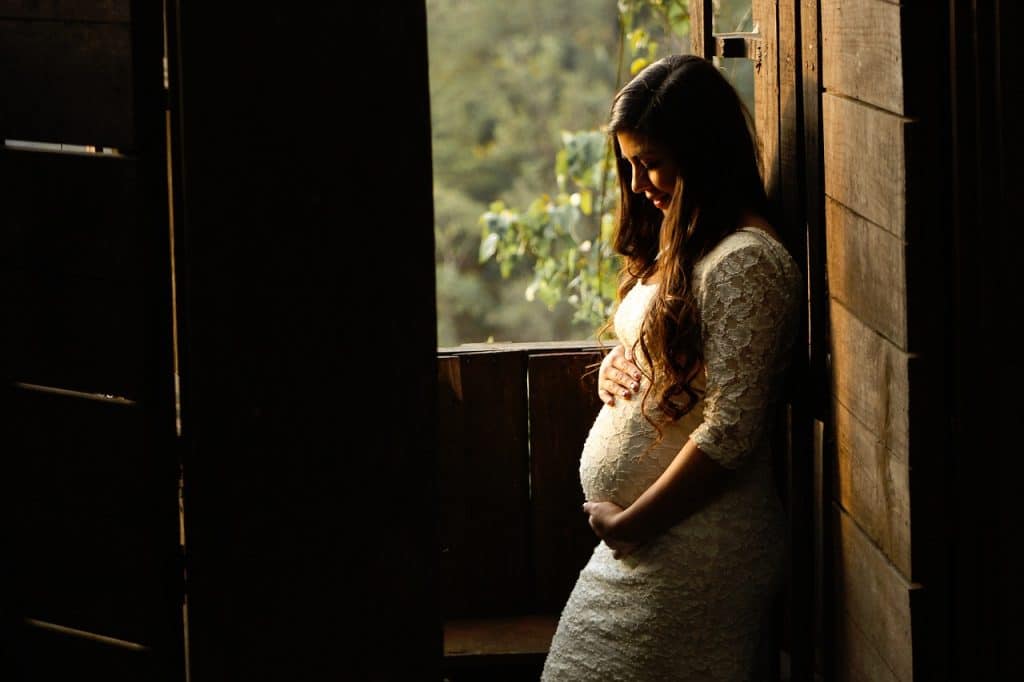
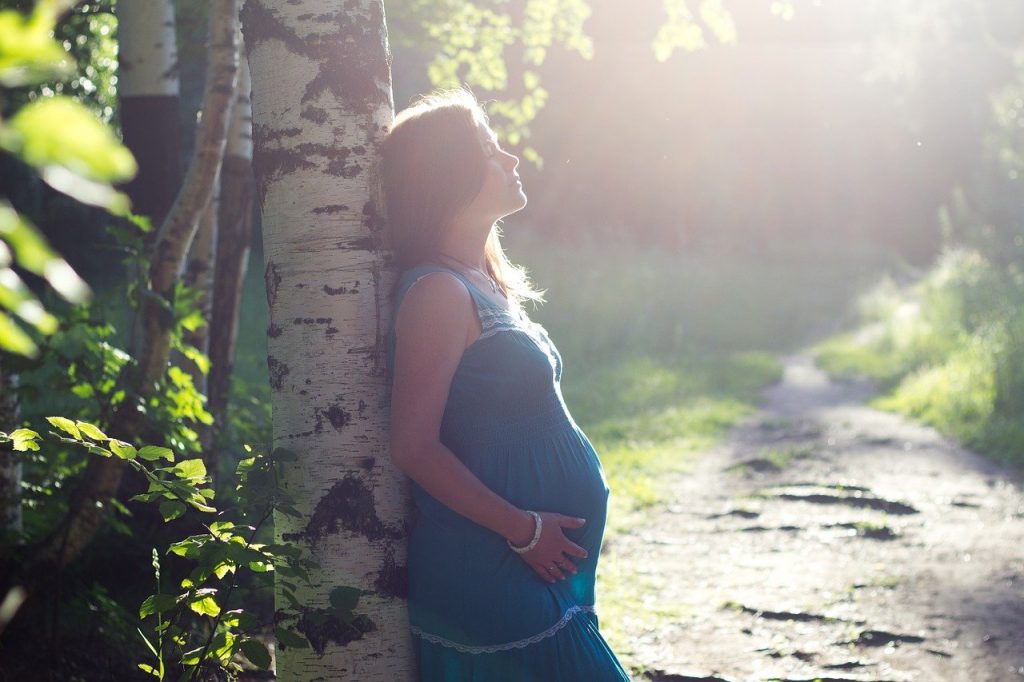
Most people, in my opinion, require some sort of impulse to progress from a dissatisfied snap-shooter to a more advanced photographer. My wife’s first pregnancy did it for me. I knew right away that I wanted to photograph her and our family members as well as possible. I began learning photography early in her pregnancy, observing our neighborhood, and planning my first photoshoot.
That was all it took for me – the right frame of mind. Without it, I’m sure you could have thousands of dollars worth of equipment and still take snapshots. (Of course, I wouldn’t know because I’ve never had the equipment to put this theory to the test!)
Finding Locations for a Family Photoshoot
Every day around 6 p.m., I would walk back home for dinner. It was late spring of 2014, and the sun was setting over a nearby building, with small trees on a hill beautifully lit up before sunset. This colorful magic could only be enjoyed for about a half-hour when the sun was low enough but not yet hidden behind the building. Someone would cut the grass on that hill every now and then. The grass always looked best when it was as tall and as long as it could be. It took them a few days to cut all of the grass, so whenever the smell of fresh greenery filled the air, it was time to act.
Another day, on my way to a shopping mall, I noticed a meadow that appeared to have some potential. The street was lined with tall grass and a split-rail wooden fence. Or, at another time, I’d recall a lovely lighthouse at the lake where we used to picnic, or I’d notice lovely flower arrangements here and there.
The key is to pay attention to everyday occurrences like these. Simple things like grass, flowers, and scenery you pass every day have the potential to be good photoshoot locations, and they don’t cost anything extra to visit. When I was preparing for my first photo shoot of my pregnant wife, places like this spoke to me.
Learning Portraiture
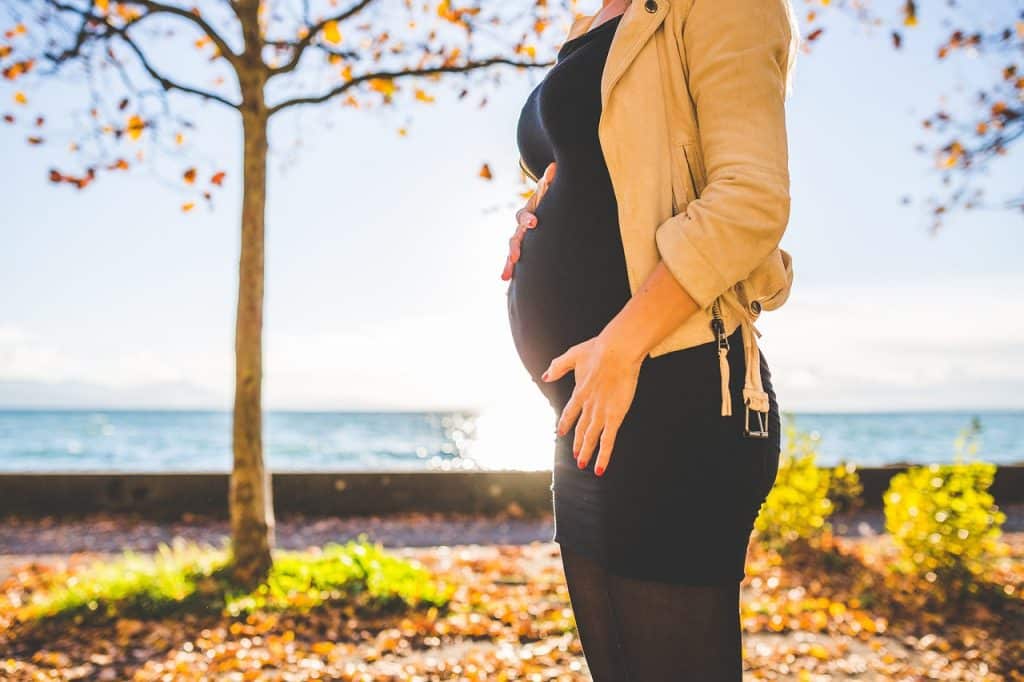
In this article, I will not rediscover the world of portraiture. There are numerous excellent basic and advanced articles on the aperture, depth of field, and perspective that contributes to portrait photography, including on Photography Life. (You can find all of the site’s portrait photography tips on this page.) My only suggestion is to experiment with these settings to see how they affect the appearance of your photo. You have a lot of control over things like isolating your subject and defocusing the background, which allows you to achieve a variety of creative looks in a photo.
A lot of it is also determined by your personal photography style and decisions. To isolate a subject well, I like to use relatively wide apertures and step back some distance from it in my own work. This viewpoint also results in more 2D, flat-looking images. (See below for my favorite Sigma 85mm f/1.4 lens on a DX camera.) Still, remember to keep the subject’s eyes in focus at all times!
How to Pick Inexpensive Photography Gear
There are several options for purchasing photography equipment for less than the price of new top-of-the-line DSLRs and mirrorless cameras online. You can always buy used, buy an older or lower-end camera, or make a few compromises on specifications, and your final kit will still be extremely high-quality and affordable.
Personally, I’ve never had any issues with used equipment. I always use local buy-and-sell options so that I can inspect and test everything before purchasing. However, purchasing used camera equipment is not the only way to save money on camera equipment if you are on a tight budget.
You can also save a lot of money by getting a high-quality manual focus lens instead of an autofocus lens, or by sacrificing a few specifications (such as getting a lens with an f/1.8 maximum aperture rather than f/1.4). Finally, you can save money by buying a “consumer” DSLR or mirrorless camera rather than a prosumer option, which does not have as many buttons and dials but usually has the same great camera sensor inside. When you’re on a tight budget, a crop-sensor camera rather than a full-frame option is a no-brainer.
The following is a list of my personal portrait photography equipment. Following that, I’ll explain why I chose these specific items:
- D5100 Nikon (or, equivalent sensor, D7000)
- Samyang 85mm f/1.4 ED AS UMC (manual focus lens)
- Nikon 35 mm f/1.8G AF-S DX (autofocus lens)
- Yongnuo RF-603N Wireless Flash Trigger (to use a speedlight remotely)
- Nissin Speedlite Di622, and a homemade softbox
- Basic continuous lightning kit (5500K, 4x85W bulbs, E27 sockets, 20 x 28 inch softbox, 2m tripod)
- Basic white screen background (1.6m x 5m)
Camera and Sensor Options on a Budget
As a self-taught photographer, I required a low-cost but decent and relatively high-resolution camera sensor with RAW capability. I wanted the sensor to be good enough to take detailed photos (with a good lens) while also allowing for some cropping and frame freedom. Along with that, I prioritized good dynamic range and flexibility when editing in Lightroom.
This led me to choose a camera sensor with a good reputation a few years ago – the 16-megapixel option found in the Nikon D5100, D7000, and a few other cameras. It was already a steal at the time, and it is even more so now. I’m still using it for all of my work! Personally, I chose the Nikon D5100 to save money while also benefiting from an articulated frame. That comes in handy when using manual focus lenses, as I can use the LCD to see my point of focus more easily. It also makes it easier to frame family photos.
However, if you need to use more advanced settings, the slightly more expensive D7000 has separate dials for aperture and shutter speed, as well as an AF-fine tune option (among others).
A Low-Cost Portrait Lens (a Prime with a Wide Aperture)
I was frequently distracted by the zooming option while shooting with my first low-resolution camera kit – the Nikon D50, 18-55mm, and 55-200mm lenses. My indecisive zooming would frequently kill the moment, allowing it to pass and causing me to lose the photo. As a result, I chose prime lenses and have never regretted it. (Prime lenses, by the way, greatly improved my framing.)
I was hoping to achieve the same results as others with full-frame cameras and the famous 135mm f/2.0 lenses, dubbed the “king” of portrait lenses. Because a longer lens like this requires you to step back from your subject, my goal was to capture a shallow depth of field and a unique perspective.
I looked at some older, less expensive lenses from Nikon, such as the AiS, E, and D series. The ones I was looking at, in my opinion, had low contrast and chromatic aberrations, making them unsuitable for digital photography. However, expensive lenses like the Nikon 85mm f/1.4 were out of my price range, and I preferred something with an f/1.4 aperture rather than an f/1.8 aperture.
So I took a slightly different approach and bought a low-cost, manual-focus lens with relatively new technology: the Samyang 85mm f/1.4 lens. This provides roughly the same depth of field and field of view on a crop-sensor DX camera as a 135mm f/2.0 lens on a full-frame FX camera.
You might be curious about the manual focusing on this lens. How effective has it been for me? After a while, you just get used to it, and I actually enjoy it now. I did the majority of my focusing with my Nikon D5100 via the LCD screen. When I later upgraded to the D7000, which came with a 1.36x Tenpa magnifying eyepiece (effectively increasing the viewfinder size to that of a full-frame body), I did it the traditional way. Surprisingly, I can now photograph running children better with manual focusing than with autofocus tracking on my D7000, despite the fact that today’s most recent cameras have much better tracking algorithms implemented.
Finally, when I need a larger frame, I use the Nikon 35 mm f/1.8G AF-S DX lens. Because of its relatively wide-angle and large aperture, this lens is also useful for photographing a group of people or taking pictures indoors.
Indoor Portraiture Considerations

Wide apertures are frequently required in outdoor portraiture to isolate the subject from a complex background. With my Samyang 85mm lens, I usually use an aperture of f/2.8 or wider.
However, if you are photographing in an indoor studio, you may be photographing against a white wall or screen, where a sense of isolation is already present. Assuming you have control over artificial lighting (and thus aren’t running low on light), you can use any aperture you want to get the best performance out of your lens, including f/4, f/5.6, or f/8.
Personally, because I don’t have large rooms and can’t take many steps back, I frequently use my Nikon 35 mm f/1.8G AF-S DX lens in this situation. (Previously, I used the Nikon 50mm f/1.8G AF-S FX lens, but I find that a combination of 35mm and 85mm focal lengths are more versatile with a crop-sensor camera body.) When it comes to lighting, the most basic option is to bounce a flash off your ceiling or walls. More advanced lighting setups, on the other hand, may produce better results.
Personally, I find that combining a Speedlight and a softbox with basic continuous lighting yields the best results. I’ll angle both light sources away from the subject, resulting in a cross-lighting effect. In addition, I hang a simple white screen behind the subject from a curtain railing. My temporary studio’s quick assembly and disassembly work flawlessly every time.
Conclusion
I believe that you can only thrive and truly enjoy yourself as a photographer if you decide to go your own way. Personally, I enjoy portraiture and family photography, and I’ve been able to do so on a budget. That is one thing I am certain of you do not need to spend thousands of dollars on equipment to capture the photos you desire.
Note: If you want to make some adjustments to the photo just let me know. I can do it for you at a very low cost. You can hire me to edit your photo.
latest post
- Best AI Tools for Project Management
 For effective project management, ClickUp, Monday.com, Notion, and Asana are excellent AI tools that help you complete your projects with minimal context switching.
 - Best AI Tools to Convert Text to VideoSome of the top AI tools for transforming text into video include Synthesia, VEED, Lumen5, and Invideo. These platforms allow you to craft impressive videos using customizable templates and voiceover options.
- Starlink Satellite InternetSpaceX’s Starlink satellite internet provides seamless connectivity even in the most remote locations. Discover how Starlink satellites operate, their internet speeds, availability, and pricing options.
- Photo Editing for ChristmasMake your Christmas photos better with Rainx. Discover ideas and tips for taking unique Christmas pictures.
- Wireless TechnologyIxana highlights the advantages of Wireless Technology, noting that Wi-R Technology allows for connections with touch while consuming 100 times less energy than Bluetooth or Wi-Fi, all while supporting wearables that don’t require charging.

