How to Take Lightning Photographs
You’ve seen the breathtaking photographs of Mother Nature unleashing her electrical fury, ripping through the sky and lighting up the world! If you want to learn how to photograph lightning, you’re in luck–we’ll go over the fundamentals of this exciting and rewarding niche.
Since lightning photography can be dangerous, let’s begin with how to stay safe.
Safety First!
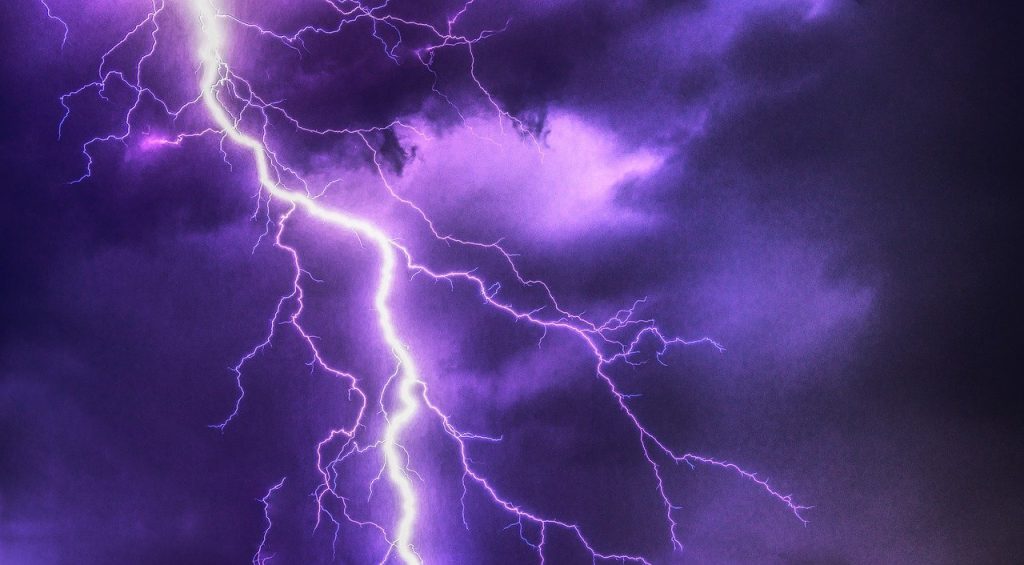
When photographing lightning, the best way to stay safe is to be in a structure or under an object that shields you from a direct strike. You should not use trees as cover because if one is struck by lightning, the electricity will travel through the roots and into you. During a lightning storm, it is recommended that you stay at least 50 feet away from both water and tall trees.
You should also avoid being out in the open, as this makes you the tallest thing in the area and a prime target for a lightning strike. Staying inside a building or car is the safest option. Remember that, while these lightning photographs are stunning, they are not worth jeopardizing your life for.
Where should you set up for lightning photography?

Aside from safety concerns, you may be wondering where to photograph lightning. The great thing about it is that a lightning storm can happen almost anywhere, but depending on where you live, you may have to wait until the right time of year, and it’s also important to consider what you have in your foreground. This necessitates some forethought ahead of time.
Before a lightning storm arrives, scout out potential locations. They should be close enough to your home that you won’t have to travel far to get there and set up to capture the best lightning strikes. The best locations provide a good view of a large portion of the sky while also providing interesting foreground details.
And don’t forget rule #1–make sure there’s a safe place where you can set up, even if it’s just positioning your car so that you get the best view while shooting from the window without risking a lightning strike.
What type of equipment do you need for lightning photography?
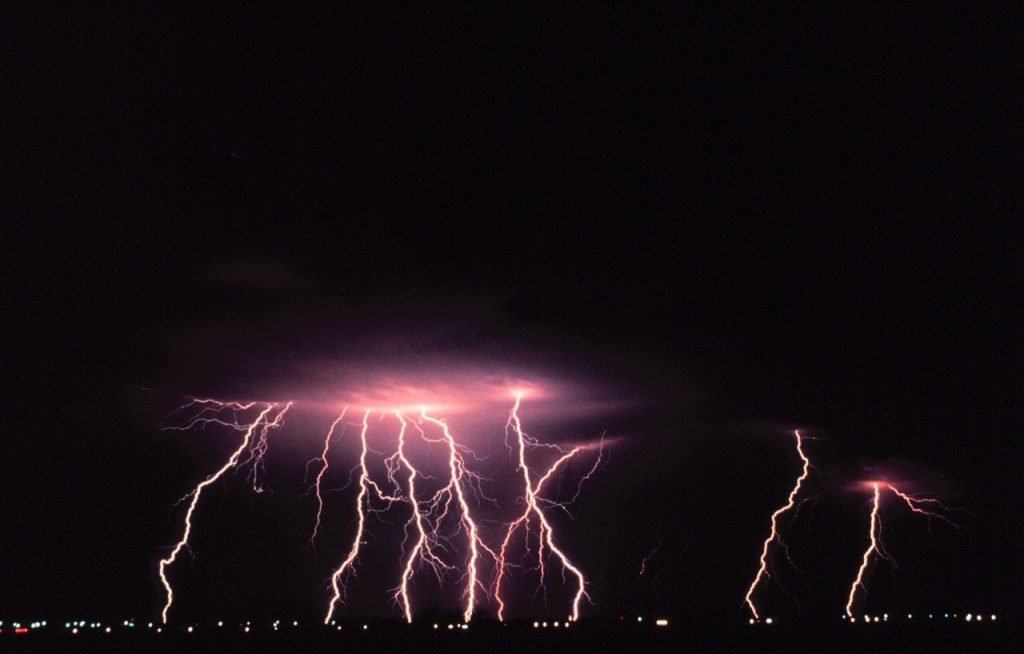
When learning how to photograph lightning, one of the most important aspects to consider is your equipment. Here’s a checklist of what you’ll need to photograph those spectacular lightning strikes:
DSLR or mirrorless camera–A DSLR or mirrorless camera is almost essential for photographing lightning, and you’ll want one that allows you to set manual shutter speed, aperture, and ISO controls. You’ll also want a camera with manual focus and the ability to shoot in RAW format rather than just JPEG.
Tripod–A tripod is also required because you’ll need a slower shutter speed to capture those awesome lightning photos you’ve seen. Your lightning images will most likely be blurry due to a camera shake if you don’t use a tripod. Even if you have a steady hand, it’s unlikely that you’ll be able to capture those crystal clear lightning bolts that are so detailed.
Lenses—When photographing lightning, you’ll need a variety of lenses. A fast lens is essential, but you’ll also likely want a zoom lens rather than a prime lens. This will give you more options for photographing lightning at different distances. A wide-angle lens, on the other hand, is required if you want to capture the breadth of the storm–the grand scene with the towering storm clouds. Because you can capture more of the sky in the shot, a wide-angle lens reduces the guesswork about where the lightning will strike.
Cable release or infrared remote–Using a cable release or an infrared remote, you can take the shot without touching your camera. This is significant because even a light touch can cause a camera shake.
Flashlight–You’ll use this to see where you’re walking in low light, as well as a light source to ‘paint’ your foreground. The resulting lightning photograph will be even more dramatic as a result.
Lens cloth or towel–Because you’ll most likely be photographing lightning in the rain, you’ll need these to keep your lens clean. A single raindrop on your lens can ruin your shot.
Optional lightning trigger–Finally, if you have the budget for something extra, there is one optional product you might want to consider. The MIOPS camera trigger includes a lightning trigger that captures images whenever lightning strikes. This lightning trigger function even allows you to move away from the camera and seek shelter while it works. If you’re going to be photographing lightning strikes on a regular basis, this is probably worth purchasing because it will make your life much easier.
What camera settings are best for shooting lightning?

When shooting lightning, there are several options to consider. It also matters whether you’re shooting during the day or at night, but the following settings will help you get the best images:
Manual Mode–You’ll set your camera to full manual mode because your camera’s automatic settings are unlikely to produce good images in the lighting conditions you’ll encounter when photographing storms or at night. This is especially true because the lighting will change as the lightning strike illuminates the sky.
Focus–You should first set your lens to manual focus and then set the focus to infinity. This indicates that the lens is focused on the distant horizon. If you’re shooting at night, you’ll definitely need manual focus because most digital cameras can’t automatically acquire focus in low light.
ISO–The sensitivity of your camera to available light. Set this to ‘base’ for your camera, which will most likely be between ISO 64 and 200. The default ISO setting on most Nikon and Canon cameras is 100.
Shutter speed–Because of the low light conditions, you’ll need a slower shutter speed, which means you’ll have the shutter open for longer. Usually, anywhere between 5 and 30 seconds will suffice. If you want the foreground to appear much darker–that dramatic silhouette–then open the shutter for only 1 to 3 seconds, but keep in mind that this shutter speed makes capturing the lightning strike itself more difficult. You can also change the camera mode to “b” to use the bulb mode. This means that the camera will continue to take pictures until you remove your finger from the shutter button. This is most useful when shooting at night because it allows you to use shutter speeds longer than 30 seconds.
Aperture–The aperture setting is affected by what is in the foreground. If there is nothing in the foreground that is too close, start with an aperture of f/5.6. If your image appears to be overexposed, stop down to an aperture of f/8 and go smaller from there. If you need to go as small as f/16, you may want to use an ND filter to reduce the amount of light that reaches your camera. If you have something close in the foreground, a smaller aperture will likely be required to increase your depth of field.
Burst mode–This mode allows you to continuously shoot frames, increasing your chances of capturing that lightning bolt in at least one image. Set up your camera, take a few test shots to check your composition, and then keep shooting until you get lucky with a lightning strike.
Don’t forget to check your images every now and then. As a result, you’ll be able to fine-tune your camera settings as needed.
Composition
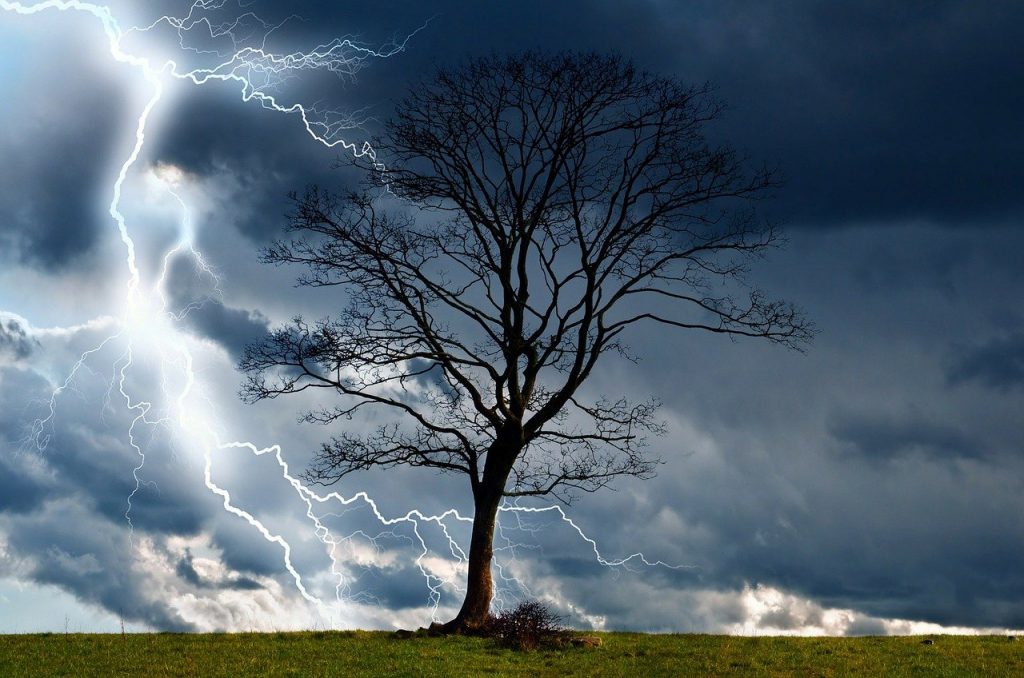
One of the most important rules to remember when composing your lightning shots is to cover more sky than you have in the foreground. It might not look good in the viewfinder, but once the lightning strikes, that becomes your subject. You want the lightning to cover the majority of the image–60–80% sky versus 20–40% foreground usually works best.
Because you never know where lightning will strike, you should usually make your composition wider than usual so that you can crop the image later in post-production. You should also think about what you have in the foreground. Some objects may obstruct the composition of your image, and while it may not be obvious at first, it will frequently become much more visible with the lightning strike.
Know Your Subject

As a photographer, it’s always important to know your subject, so let’s take a look at the various types of lightning. Lightning is classified based on the following characteristics: type, intensity, pattern, and colour.
Cloud-to-ground lightning, cloud-to-cloud lightning, and intra-cloud lightning are the three types of lightning. If lightning strikes from the clouds to the ground, it is called cloud-to-ground lightning; if it strikes from one cloud to another, it is called cloud-to-cloud lightning; and if it strikes within a single cloud, it is called intra-cloud lightning.
Intensity: Knowing how to estimate the intensity of the lightning is important because it can affect your camera settings. As a result, before attempting to take a photograph, you should observe the lightning for a few moments. Consider how frequently it strikes, and which bolt is the brightest–is it the fourth or fifth? After determining the intensity, you can fine-tune your camera settings to obtain the best image.
Pattern: This is related to the type of image you want. Do you prefer the image of a single lightning bolt with its stark, beautiful simplicity, or do you prefer lightning that scatters across the sky or shoots off a slew of smaller lightning bolts? Again, studying your subject will help you set up your gear to capture the image you’re after.
colour-Finally, there’s the lightning bolt’s colour to consider. Lightning can be white, red, yellow, green, blue, or purple. The colour of lightning is determined by the atmosphere’s gases, chemicals, and other impurities, as well as the temperature of the lightning bolt itself. Of course, the most common colour is bright white, but if there is dust or pollution in the air, orange or red colours will appear, and hailstones in a storm can contribute to a purple or blue hue. Even vapour lamps in cities can cause lightning to appear bluish-green.
Understanding these lightning characteristics allows you to better plan for the image you want to capture. Furthermore, these helpful hints will help you understand the fundamentals of photographing lightning.
Learn about your subject, scout out locations with lots of sky and a good foreground, set up your camera with a tripod, shutter release cable, and lightning trigger, adjust the manual settings, take cover, and shoot to your heart’s content if you want to get those spectacular, breathtaking photographs of Mother Nature at her most shocking. You’ll capture those magnificent, beautiful, and powerful lightning bolts as they rip through the sky.
Frequently Asked Questions
What is the best camera for shooting lightning?
As previously stated, a mirrorless or DSLR camera is required. Of course, there are many brands that will work well, but the Nikon D7500 is a good option at a reasonable price.
What is the best lens for photographing lightning?
To shoot lightning, you usually want a fast lens, and depending on your budget, it’s a good idea to have both a telephoto lens and a wide-angle lens. The Nikon AF-S NIKKOR 24-70mm f/2.8E ED VR Lens, as well as the Canon EF 17-40mm f/4L USM Ultra Wide Angle Zoom Lens, are excellent choices.
How can you use your smartphone for lightning photos?
You can use your smartphone to capture the perfect lighting image. To avoid a camera shake, place your phone on a stable surface or use a small tripod, just like you would with your camera. Next, you want an app that allows you to manually adjust the settings, so you can set the ISO to the lowest value and adjust the aperture and shutter speed accordingly. Then, just use the same tips for shooting lightning as you would with a regular camera.
How should you use photo editing software to perfect your lightning images?
You’ll most likely need to use a software programme like Adobe Photoshop or Lightroom to process your lightning images. Photo stacking is a technique used to create stunning lightning images. To accomplish this, take several shots of the same landscape with different lightning strikes, then select all of the images you want to stack and open them in Photoshop as layers. You can then adjust the settings for all layers or use layer masks to adjust only specific areas of the images. As a result, the landscape you photographed will appear to have multiple lightning strikes striking at the same time.
Note: If you want to make some adjustments to the photo just let me know. I can do it for you at a very low cost. You can hire me to edit your photo.
latest post
- Best AI tools for Facebook Ads
 If you’re seeking to improve your Facebook advertising strategies, Birch or Revealbot, AdEspresso by Hootsuite, and Zalster are exceptional AI tools that enhance efficiency and maximize ad performance.
 - Photo Editing MistakesExcessive editing, Oversaturating colors, Blurred images, Too much HDR and Overdoing filters and effects are some of the top photo editing mistakes to avoid for crafting stunning pictures.
- Best AI tools for lead generationExplore Customers.ai, Instantly, Seamless.AI, and LeadIQ are some of the best AI tools for lead generation as they provide you with client’s details for closing deals. Uncover its key features, affordable pricing, and customer reviews.
- Benefits of Digital Business CardsWhat is a digital business card? Discover the benefits of digital business cards and how to create digital business cards suitable to your professional image and networking efforts.
- Best web design companies in TrivandrumRainx LLP, Oregon Technologies, Redwet Solutions, and Globify Digital Solutions are among the best web designing company in Trivandrum, specializing in website development.


