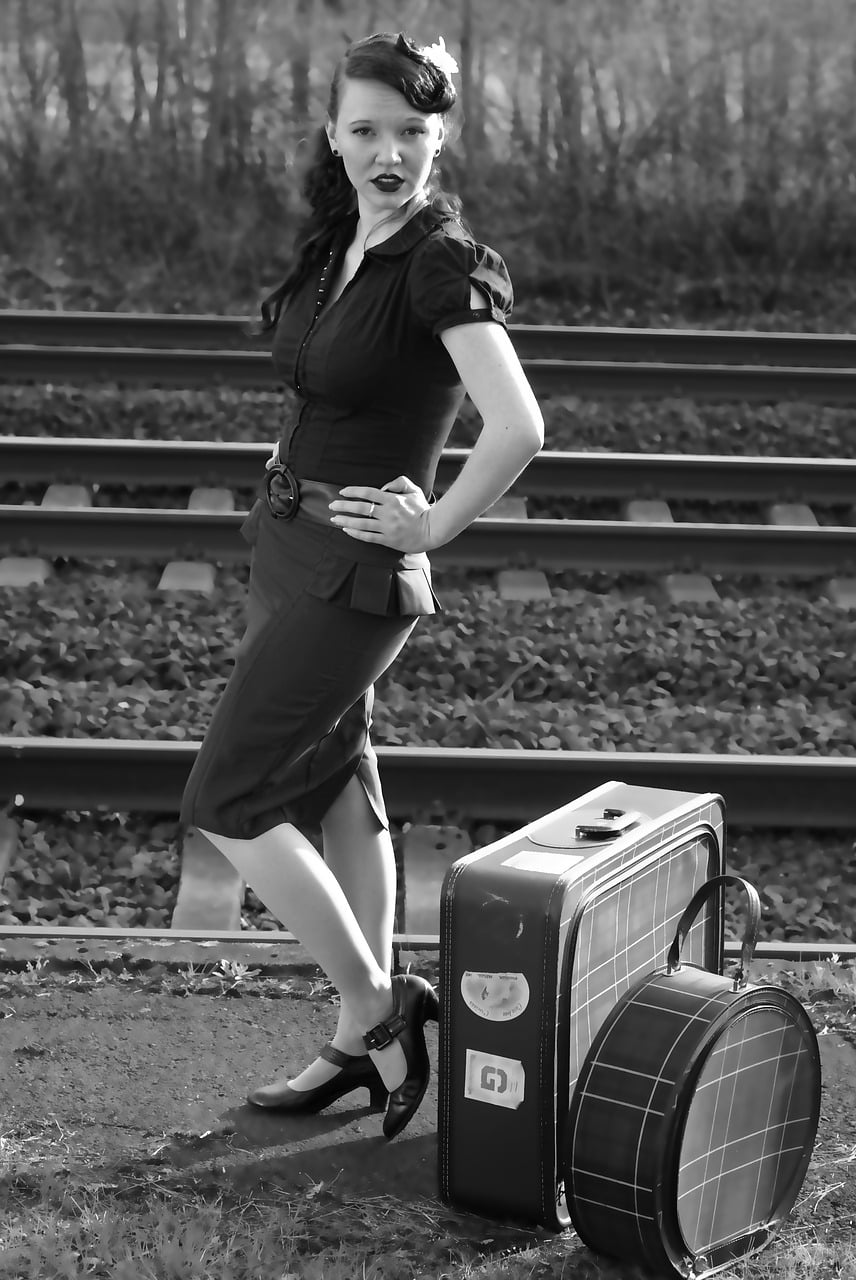
Taking Black and White Photos in the Digital Age
Table of contents
Come on, let’s go! Accept it. Most of us have never handled photographic film. If you’re under the age of 35, I suppose that statement is mostly true. Those of us over the age of 35 have probably not touched a film in nearly two decades.
We are all aware that the origins of photography can be traced back to the black and white photograph. Consider the 1950s newspaper photographers, with their massive press cameras and flashbulbs. Go even further back in time, and you’ll find the portrait photographer of the 1800s, who used 100-pound cameras and dangerous flash powder to expose the image.
In the past, a black and white photographer had to use a special film, special chemicals, and a rinse-wash-dry cycle in two stages, which took at least hours and sometimes days.
What is the primary benefit of photographing in black and white in the digital age?

“Time!” In today’s world, you can literally take a black and white photograph, edit it, and share it with the entire world in a matter of seconds.
But here’s the catch…
The methodical method of filmmaking demanded craftsmanship, which, more often than not, resulted in superior quality.
It’s so easy to churn out a b&w image these days that you really have to ‘want’ quality to give it the time and attention it deserves.
Keeping this in mind, how about taking a black and white photograph in the digital age?
What can we do to improve the quality of our digital black and white photography?

Here’s How to Get Superior Quality in Digital B&W
- Take it easy. Consider the process as well as the medium. Excellent black and white photography necessitates a different mindset than colour photography.
- . Maintain a low ISO setting. Photographers sometimes argue that digital noise, like ‘grain’ in film days, is a creative effect in black and white photography. That notion does not hold water, and here’s why. The grain structure of the film was visible throughout the tonal range of the final print. Noise is picky about where it wants to appear, and it usually does so at the shadow end of the histogram scale. Because of this randomness, digital noise appears to be a mistake rather than the creative effect of film grain.
- Don’t overexpose your highlights or darken your shadows. It is all too easy to do this, not only during the shooting phase, but even more so during the post-processing phase. Always ask yourself, “If my eyes can see it, how can I make it appear in my black and white photo?” Then, post-process as needed.
- In the same vein, you should definitely make use of the camera raw format. These days, even some mobile phone cameras shoot in raw format. What is the significance of the camera raw format? To understand why, you must first understand the concept of dynamic range. The ability to reproduce “a range of tone and brightness values from shadow to highlight” is referred to as dynamic range. The dynamic range of digital cameras was far less than that of black and white negative film for the majority of the digital age. That’s getting better. Camera raw allows you to extract the most dynamic range from your digital image file. It outperforms the.jpeg format in this regard, among others.
- Develop your understanding of tone. The process of converting colours to grayscale is known as black and white imaging. Film photographers had to develop the ability to recognise how a colour would convert to a shade of grey at the point of capture. Most of us in the digital age create our images in colour, and only later in the post-processing phase do we consider how the colours will convert to tone if we make it into a black and white photo. If you start thinking about the conversion process early on – while you are taking the photograph – your black and white photography will improve, and you will be creating better work than your fellow photographers.
- Ok. So you’re going to take Section 5’s advice… When taking a digital photograph in camera raw format, how can you influence the change in colour as it converts to tone? You only have one primary tool at your disposal: light. Through brightness levels, light can alter how colours convert to shades of grey. If the colours in your scene are similar in hue or saturation, they will most likely convert to similar shades of grey. However, by adjusting how the light interacts with those similar colours, you can increase or decrease the brightness levels, resulting in a more complete, pleasing tonal range in your final black and white photo.
- Finally, and I know many of you will be offended by this, Presets and action sets for black and white conversion should be avoided. Your eyes and a histogram are your best tools for black and white conversion.
Note: If you want to make some adjustments to the photo just let me know. I can do it for you at a very low cost. You can hire me to edit your photo.
LATEST POST
- Best AI tools for Facebook Ads
 If you’re seeking to improve your Facebook advertising strategies, Birch or Revealbot, AdEspresso by Hootsuite, and Zalster are exceptional AI tools that enhance efficiency and maximize ad performance.
 - Photo Editing Mistakes
 Excessive editing, Oversaturating colors, Blurred images, Too much HDR and Overdoing filters and effects are some of the top photo editing mistakes to avoid for crafting stunning pictures.
 - Best AI tools for lead generation
 Explore Customers.ai, Instantly, Seamless.AI, and LeadIQ are some of the best AI tools for lead generation as they provide you with client’s details for closing deals. Uncover its key features, affordable pricing, and customer reviews.
 - Benefits of Digital Business Cards
 What is a digital business card? Discover the benefits of digital business cards and how to create digital business cards suitable to your professional image and networking efforts.
 - Best web design companies in Trivandrum
 Rainx LLP, Oregon Technologies, Redwet Solutions, and Globify Digital Solutions are among the best web designing company in Trivandrum, specializing in website development.

