10 Photographic Tips for Beautiful Images of Birds
Estimated reading time: 11 minutes
Table of contents
- Don’t obsess about equipment
- Consider lighting and composition in bird photography.
- Get down for an eye-level perspective
- Keep the eye sharp and well lit
- Fill the frame
- Tell a story
- Capture the action
- Capture birds in flight
- The background makes the picture
- Practice with common birds
- How to photograph birds: final words
Are you looking for a unique way to photograph birds? While bird photography may appear intimidating at first, it is actually quite simple once you get the hang of it.
In this article, I’ll cover everything you need to know about taking beautiful bird photos.
So, if you’re ready to learn how to become an expert, let’s get started with my first tip:
Don’t obsess about equipment
If you ask a beginner bird photographer what equipment they use, they’ll most likely mention ultra-fast cameras and long lenses.
Cameras and lenses do make a difference, and this is true. However, they aren’t nearly as important as you might believe.
Bird photography isn’t just about getting close to the birds. It’s also about composing beautiful images, getting the light just right, learning how to expose properly, tracking fast-moving subjects, and so on. While a longer lens is advantageous, especially if your subjects are wary, you can still capture beautiful bird images with a shorter lens – either by mastering stalking strategies or by photographing birds in their natural habitat.
Here’s what you’ll need to get started with bird photography, in my opinion: a good APS-C camera body and a 300mm telephoto lens. That’s more than enough to get truly amazing bird photos.
And, as I mentioned earlier, even if you don’t have a longer telephoto lens, you can still capture stunning images of birds like mallards, geese, gulls, and other approachable birds. It all comes down to how you perceive the situation.
Consider lighting and composition in bird photography.
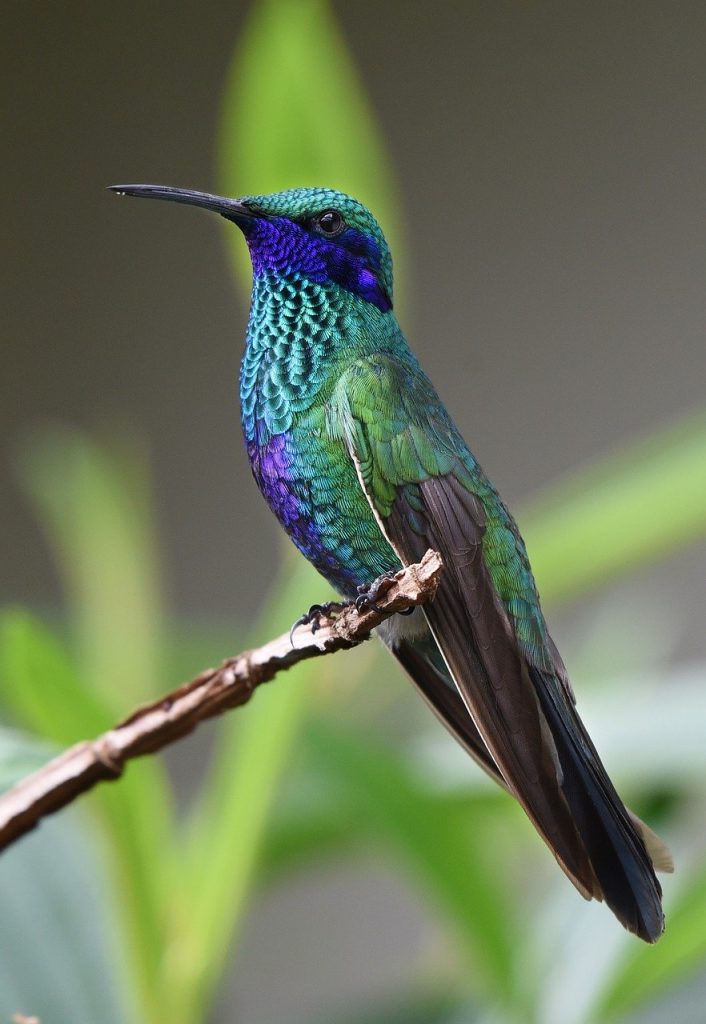
Light, as well as composition, can make or break your bird photography. You must pay close attention to both of these elements and do everything possible to ensure that they are always working in your favor.
So, what is the ideal lighting for bird photography? Light in the early morning and late afternoon, also known as golden hour lighting. Golden-hour lighting is soft, and as an added bonus, the birds are very active at these times.
Soft, golden-hour light has some wonderful characteristics. For instance, it:
- prevents harsh shadows on the bird
- enhances the glow in the bird’s plumage
- creates a catchlight in the bird’s eye
As for bird photography composition:
A good composition helps you convey your message in the simplest possible way. Happily, the composition is pretty easy, and following a few basic composition principles will make a huge difference. Here is my best advice:
- Use the rule of thirds compositional technique to place the bird off-center
- Use color contrast by aiming for a complementary background
- Fill the frame with the bird
- Use a clean background
Commit those compositional guidelines to memory and apply them to your work, and you’ll be fine.
Get down for an eye-level perspective
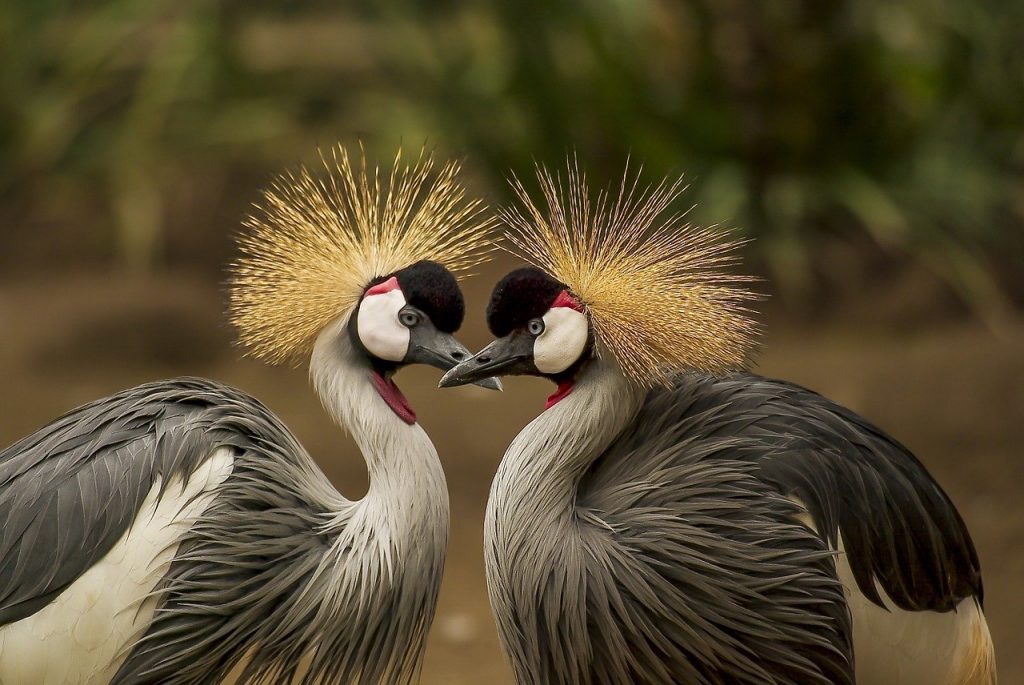
We see the world from five to six feet up, but birds see it from a few inches to a few feet up. Get down on the bird’s level to get a sense of their world!
To put it another way, don’t be afraid to crouch, squat, crawl, or lie flat on the ground. Yes, you may get a little muddy. It is, however, the key to creating professional-looking, low-perspective images like this:
Here are a few of the advantages of low-perspective bird photography:
- You’ll get true eye contact for more intimate photographs
- You’ll get pleasing blur both in the foreground and background (note the blurred sand in the image above)
- You’ll be low to the ground and therefore less threatening to your subject
- You will transport the viewer into the bird’s world
Obviously, there are times when you can’t get down low, and that’s fine – but whenever possible, get down low. It can mean the difference between life and death.
Note: If you want to make some adjustments to the photo just let me know. I can do it for you at a very low cost. You can hire me to edit your photo.
Keep the eye sharp and well lit
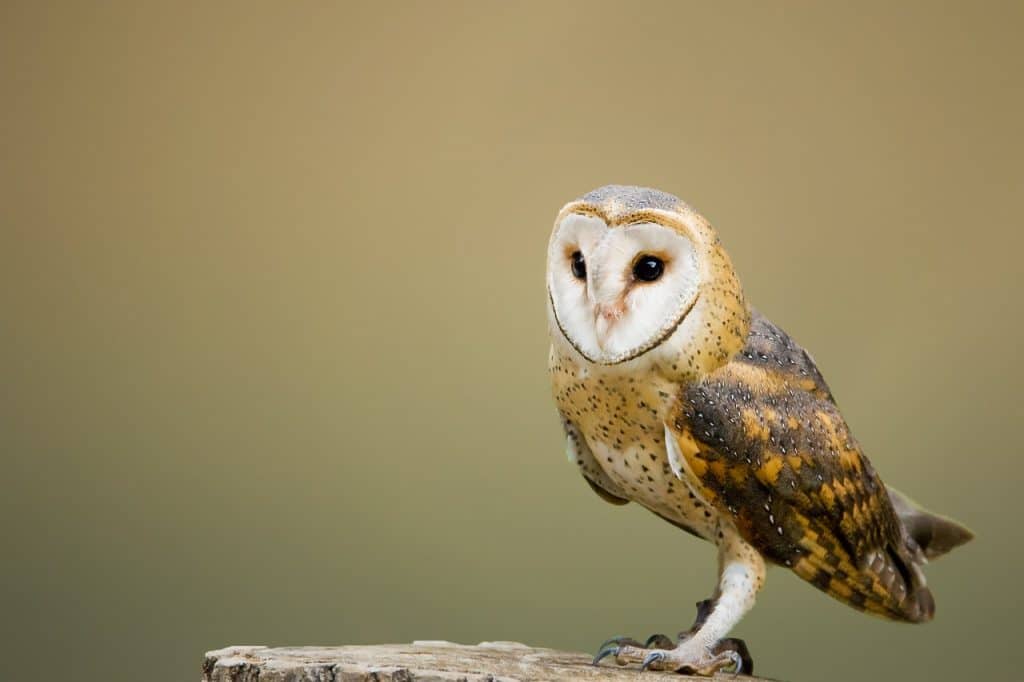
The eye, more than any other part of a bird’s body, must look good 100 percent of the time.
What exactly does this mean? For starters, if there is no light in the eyes, birds appear dull and lifeless. Birds with clear eyesight (called a catchlight) appear much better.
Take a look at the image below. Can you see the white spot in the bird’s eye? That’s the catchlight, and you get it by facing the sun (or another light source).
In addition, make certain that the bird’s eye is always, always, always in focus. If your eye is blurry but your body is sharp, you’ve failed; if your body is blurry but your eye is sharp, you may still have a good shot.
Fill the frame

Do you want to take beautiful bird photos? When photographing a single person, it’s often a good idea to fill the frame. Here are a few of the advantages:
- It’s easy for the viewer to focus on the bird
- It’s easy to achieve a pleasing blur or bokeh effect in the background
- It’s easy to properly expose for the bird
- It’s easy to compose in the field
As I mentioned in my first tip, filling the frame isn’t always necessary – and it’s not always possible if you have a shorter lens. However, unless you’re going for a stunning environmental shot, I recommend that you at least try to fill the frame. Consider a low, slow approach (where you get low to the ground and inch forward) or even using a blind.
You can get away with a little cropping if your lens is sharp and you’re using a high-megapixel camera, but don’t rely on it too much; even the best images will start to break down if you try to turn a distant bird into a close-up masterpiece.
Tell a story
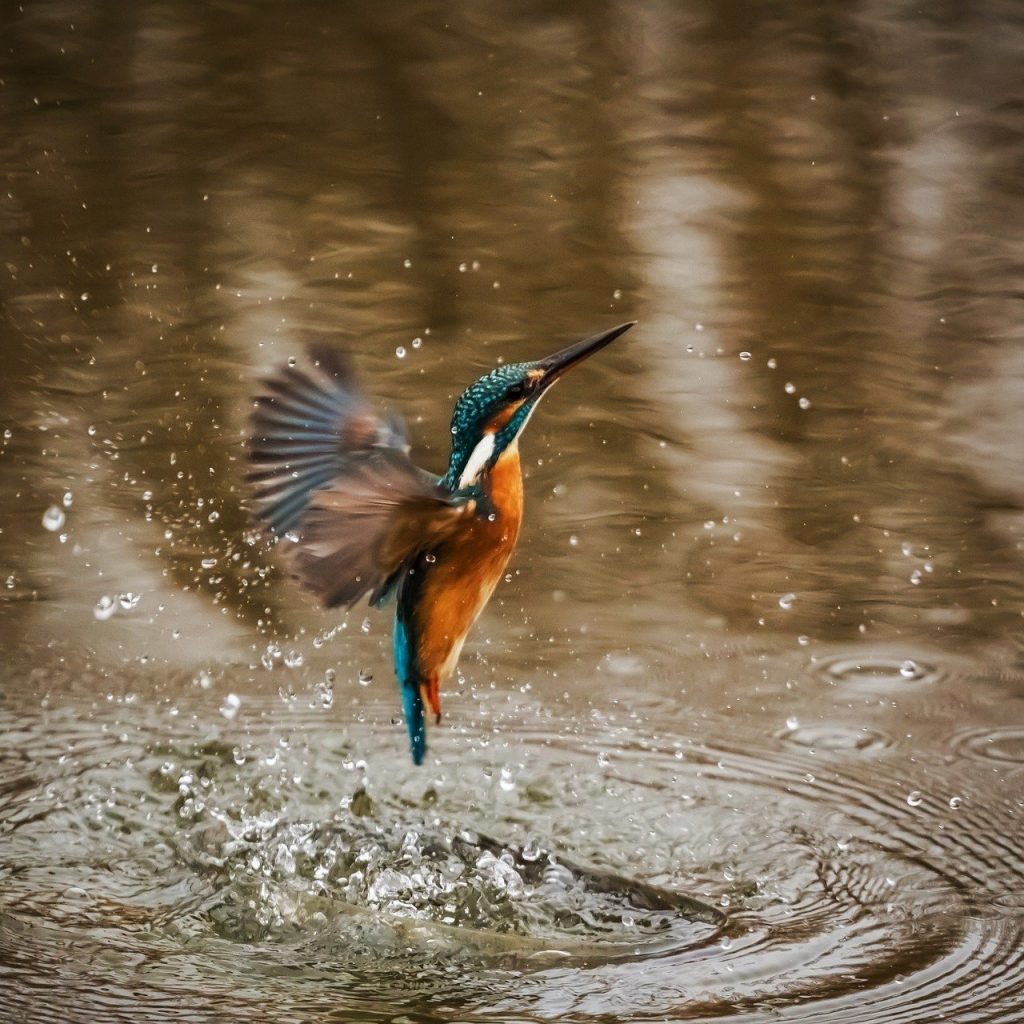
Storytelling in bird photography is not the same as storytelling in books and movies. Storytelling is a technique for expressing the time of day, mood, location, or activity of a bird in a single photograph, and it is primarily concerned with including a bit of environment in the scene.
For example, you could include some grasses next to the bird, photograph the bird catching a fish, or photograph two birds interacting, and so on. If you choose to shoot a wider image (i.e., a shot with a non-frame-filling bird), storytelling becomes even more important; your story must keep the viewer’s attention because a small-in-the-frame bird will not suffice.
Here are a few additional tips you can use to enhance the story:
- Indicate the weather conditions by including snow, rain, or mist
- Capture silhouettes during sunrise and sunset
- Show season by including flowers in bloom, autumn colors, or snow
- Include reflections for a surreal result
Capture the action
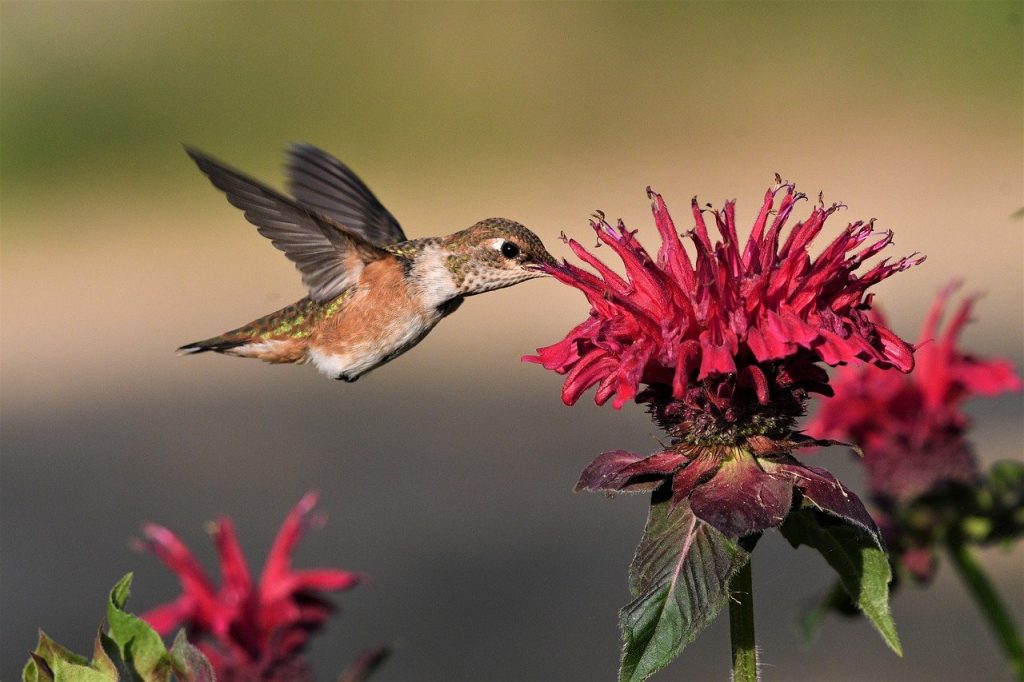
In general, an action photograph outperforms a perching photograph. If you can capture a bird in flight, a bird fighting, or a bird catching a fish, the viewer will be blown away – so look for action whenever possible.
Obviously, capturing birds in action requires more effort and patience than capturing perched birds. However, with some practice and perseverance, you can become a skilled action bird photographer.
Here are some pointers for photographing birds in action:
- Take photos early in the morning or late in the afternoon, when the birds are most active.
2.Wait for the bird to move, then use burst mode to capture multiple images at once. - Follow the bird until focus is locked before pressing the shutter (use continuous focus!).
- Practice anticipating action by observing or reading about birds.
Pro tip: When birds are hungry, it’s easy to photograph them in action; they’ll often ignore you in their single-minded pursuit of food, but keep a safe distance and don’t disturb them.
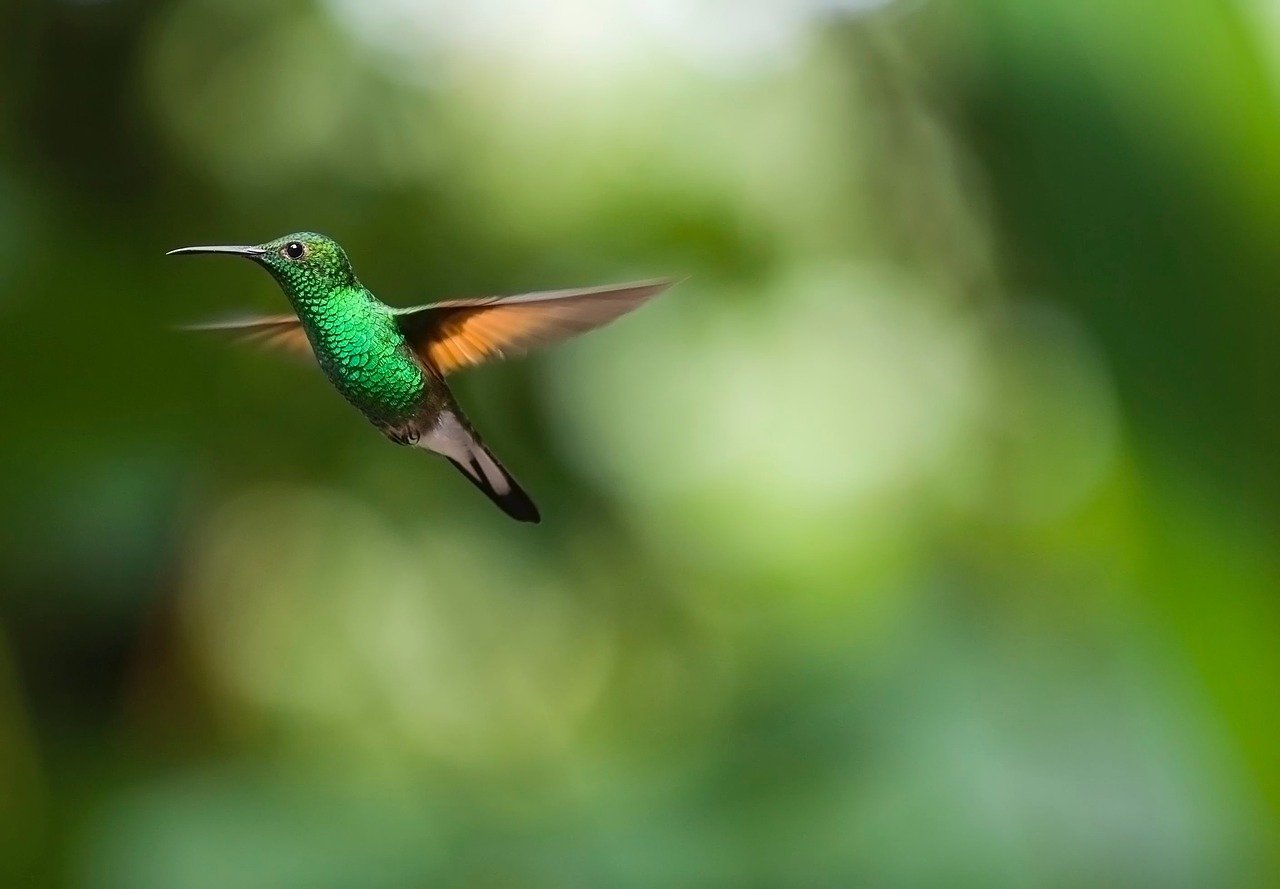
By the way, action shots of birds don’t have to depict aggressive and/or impossible-to-capture movement. Simply photographing birds behaving in unusual ways, as I did for this Cattle Egret image:
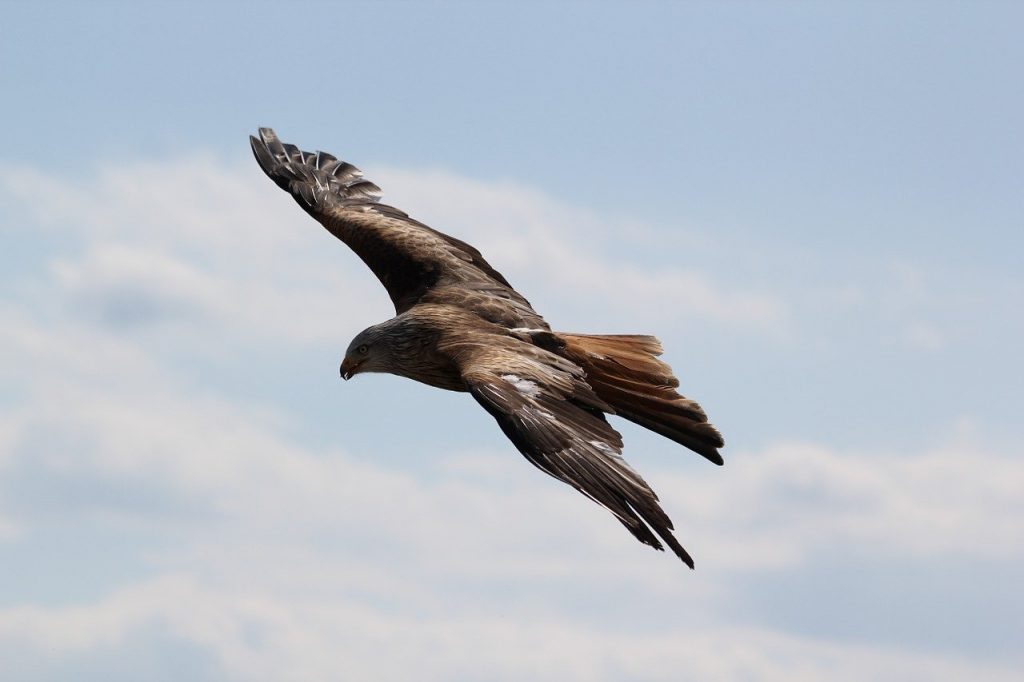
Capture birds in flight
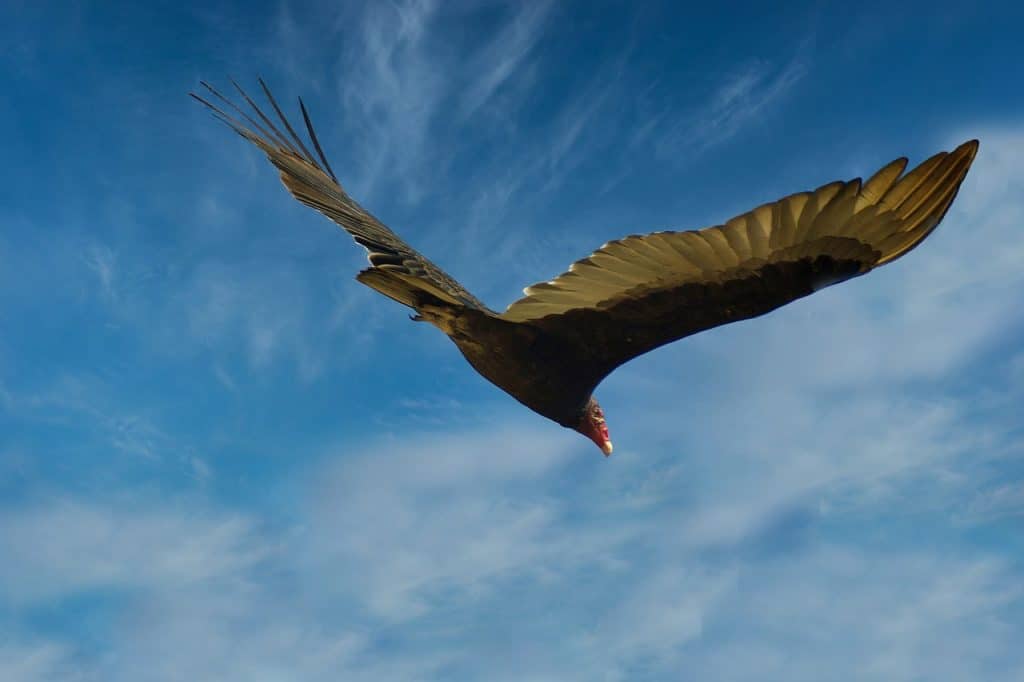
Birds in flight are among the most sought-after subjects in bird photography – and also among the most difficult. It’s not easy to capture flight photos that will impress your viewers!
Your success is largely determined by the bird as well as the technique you use. Smaller birds have erratic flight patterns and are small in the frame, making them difficult to track. Larger birds are slower and easier to track, so if you want to be successful with flight photography, start with larger, slower-moving birds.
And make it a point to get out there and practice all the time, because the sharp bird in flight photos necessitates a perfect technique. Here are some simple tips for taking stunning flight photos:
- Learn about the bird’s flight patterns
- Know the bird’s landing and take-off patterns
- If there is more than one bird, when one flies, the rest will likely follow suit
- Track the bird for a few moments and let the camera achieve focus before pressing the shutter
- Use Aperture Priority so you do not have to worry much about changing light conditions
The background makes the picture
The subject is important in bird photography, but so is the background. When the background is clean and complements the bird, bird photos look stunning. When the background is cluttered or distracting, the shot generally fails, even if the bird itself is excellent.
Take a look at the illustration below. Do you notice the smooth, lovely – but not distracting! – background? Do you see how it complements and even pops the bird off the screen?
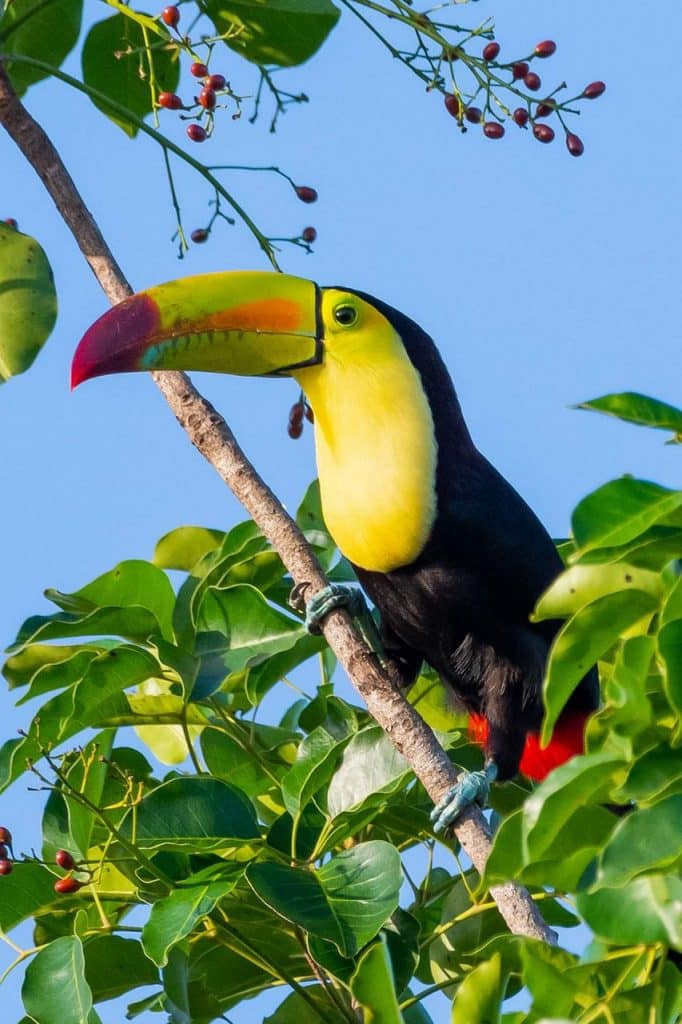
Bottom line: When photographing a bird, it is critical to keep an eye on the background. Here are a few simple pointers to consider:
- Avoid taking bird photographs when the background is too distracting
- Avoid taking bird photographs when the background is plain and boring
- If you don’t like the background, wait for the bird to change position or adjust your angle until you get an interesting background
- Choose maximum aperture values to throw the background slightly, or completely, out of focus
Practice with common birds
As I’ve stated numerous times throughout this article, practice is an essential component of bird photography. After all, practice makes perfect, and while it’s not difficult to create beautiful bird photos, certain types of images, such as birds in flight, require some real skill.
That is why I recommend that you practice photographing larger, slower, more common birds. I learned most of my birding skills from seagulls, mallards, geese, and herons. You can do the same thing.
Of course, don’t be afraid to venture out of your comfort zone and photograph a songbird or a shorebird. But don’t get too worked up if you don’t capture stunning images; instead, concentrate on honing your skills and learning the best bird photography settings. You’ll be photographing the tougher birds like a pro in no time!
How to photograph birds: final words
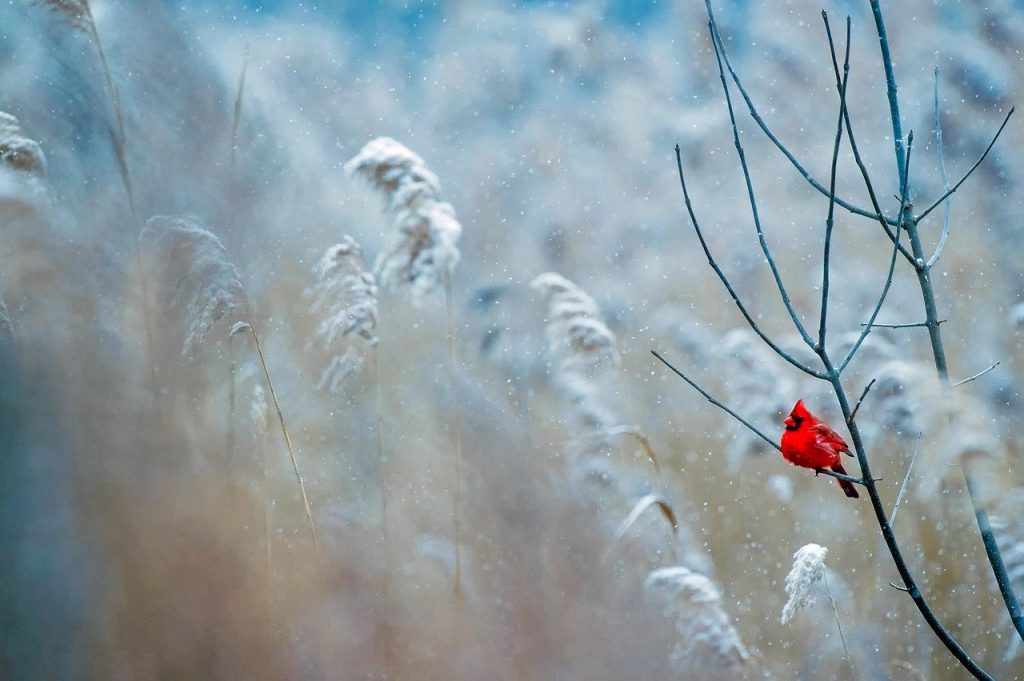
You’re well on your way to capturing beautiful bird photography now that you’ve finished this article. Spend your time and energy learning all of the above-mentioned core principles. Demonstrate to yourself that you have a strong desire to go out and photograph birds every day (or as often as you can).
Always keep in mind that proper techniques will always outperform equipment. Make every effort to capture stunning images of common birds. And remember to have fun! That’s the key to success.
Note: If you want to make some adjustments to the photo just let me know. I can do it for you at a very low cost. You can hire me to edit your photo.
LATEST POST
- Company Profile WritingUncover the essential components of a company profile. Our guide covers how to write about your mission, history, and contact details to showcase your business effectively.
- What is CashKaro and How to use CashKaro cashback app?Discover CashKaro and transform your online shopping! Learn how to earn cashback effortlessly with the CashKaro app. Start enjoying discounts today!
- How to Make a Graphical Abstract?Elevate your research presentation with our guide to crafting compelling graphical abstracts. Discover essential tips on visuals, clarity, and effective design.
- Best AI tools for Facebook AdsIf you’re seeking to improve your Facebook advertising strategies, Birch or Revealbot, AdEspresso by Hootsuite, and Zalster are exceptional AI tools that enhance efficiency and maximize ad performance.
- Photo Editing MistakesExcessive editing, Oversaturating colors, Blurred images, Too much HDR and Overdoing filters and effects are some of the top photo editing mistakes to avoid for crafting stunning pictures.


