11 Ways to Improve Your Food Photography
Food photography is a form of art. Consider this! Food photos are popular on social media… However, not everyone is capable of photographing food from the correct angle and in the proper lighting. However, if the food is captured correctly, the right image can make any mouth water.
Use these food photography tips for professional shooting and staging if you want to create tasty-looking images.
Arrange the Food Creatively

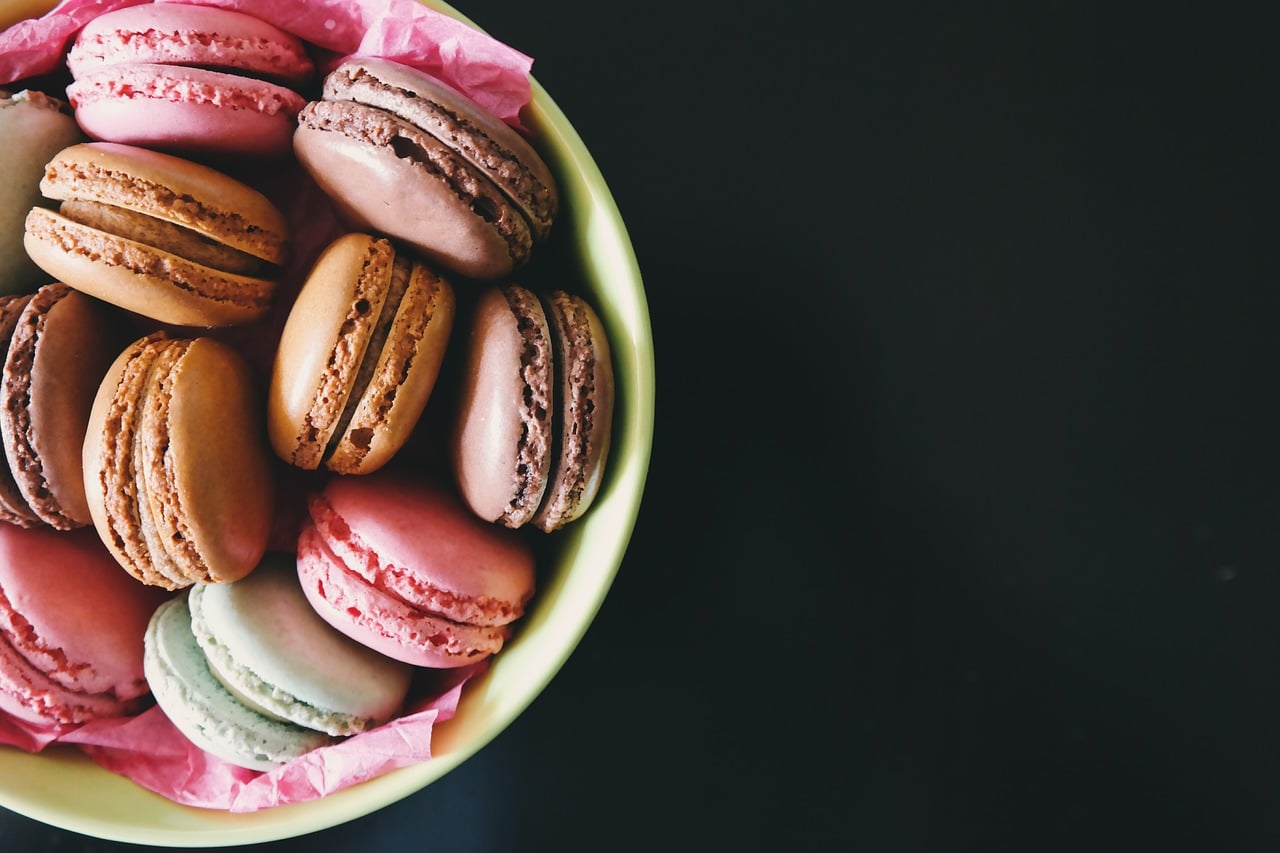
Presentation is everything in 5-star restaurants (aside from taste, of course). Because your viewer will not be tasting this food, make sure the food is beautifully arranged on the plate. For some foods, this could mean clean, crisp edges. Others may interpret this as a meticulously careless dash of sauce to create a visual accent. Great food photography is impossible to achieve without excellent food staging.
Cooking cannot be prioritised if photography is
Some of the best food photography is of food that would actually taste bad. Why? Because fully cooked food does not stop cooking as soon as it is removed from the heat. When fully cooked before staging, meat, in particular, tends to go from plump to shrivel.
If you’re going to spend a lot of time setting up the food, you probably shouldn’t eat it afterwards. If you can shoot it quickly, fully cooked food that you will eat is fine. If you need a lot of time to shoot it, consider cooking the food just enough to achieve the desired shape, colour, and texture.
Smoothies and protein shake frequently separate, so use less water and more dry ingredients. Adding a little extra oil to foods like grilled or roasted vegetables can help them retain their gleaming appearance.
Allow for Negative Space
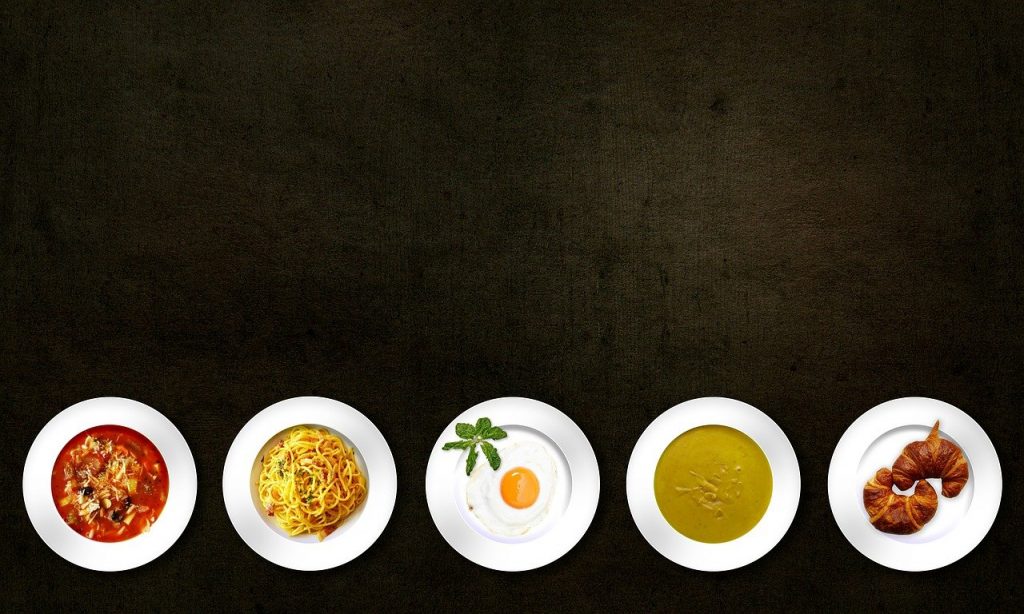
It is more important to create a beautiful presentation when staging food for photography than it is to accurately represent one person’s exact serving size for a meal. That could mean using a unique plate or platter instead of a traditional dinner plate or arranging the food differently than you would if you were serving a family of five on a Tuesday night. If it serves your composition, don’t be afraid to let the plate shine through!
Try Shooting from Multiple Angles
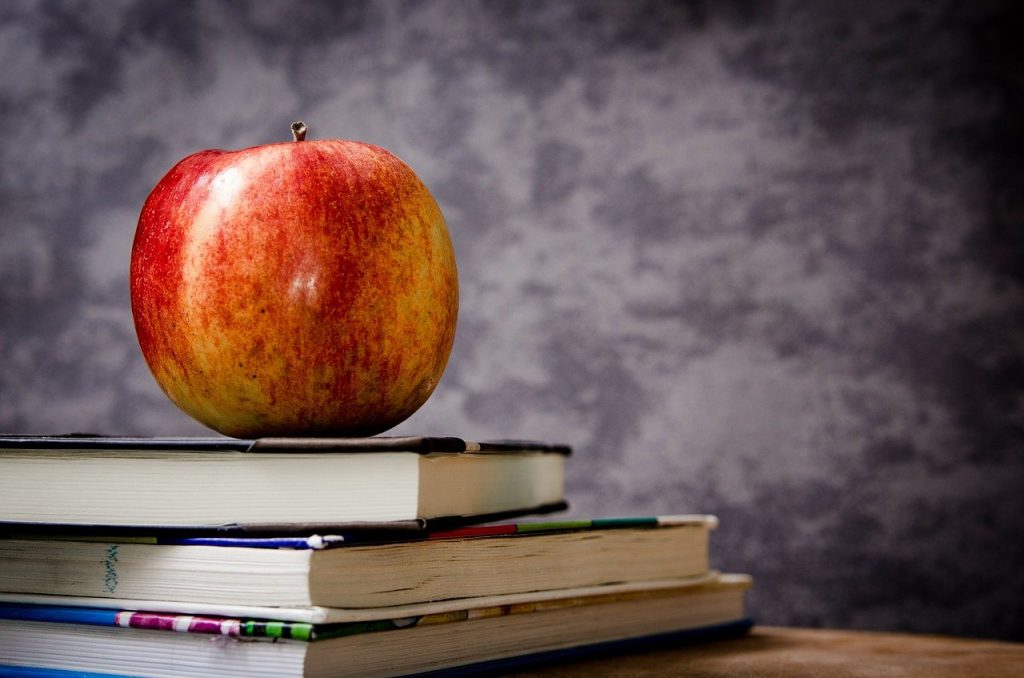
We rarely shoot people from above, and we rarely shoot food from one side, but both have their uses. Shooting from above is often the simplest way to capture great food images, but if there are layers with visual interest, consider shooting from one side as well. A diagonal shooting angle can help you capture more of the scene at the table.
Carefully Evaluate the Background
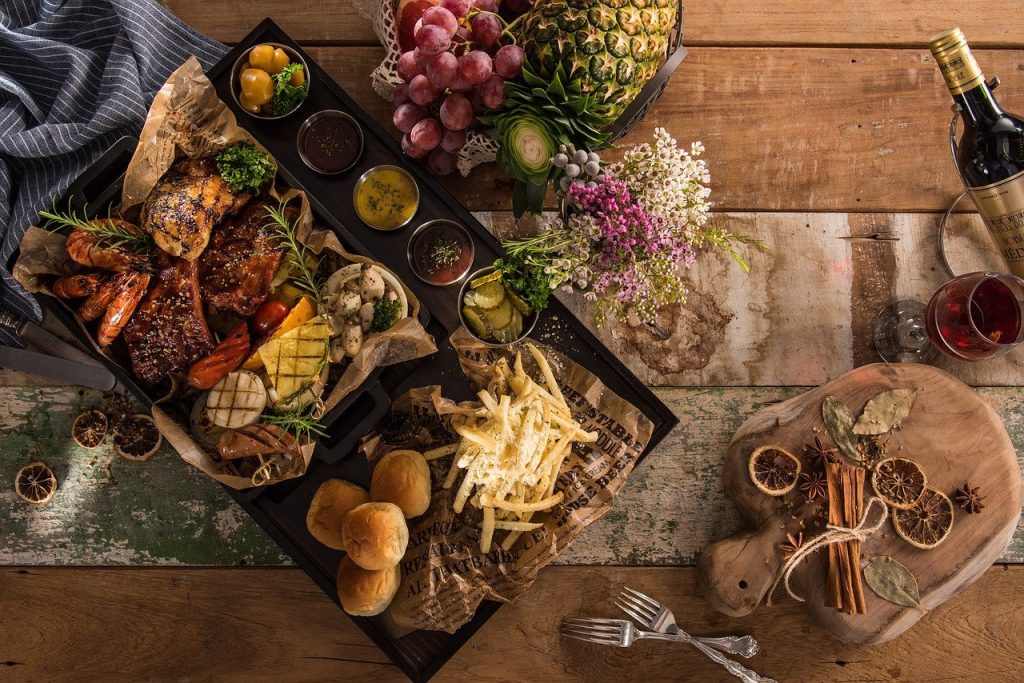
A busy background will compete for the viewer’s attention if your photos are meant to showcase the food. Backgrounds that are simple or neutral are the best places to start. For your shooting surface, start with a dark brown or black table, a white or very light stone or marble countertop, or a wood butcher block.
Shoot in Natural Light
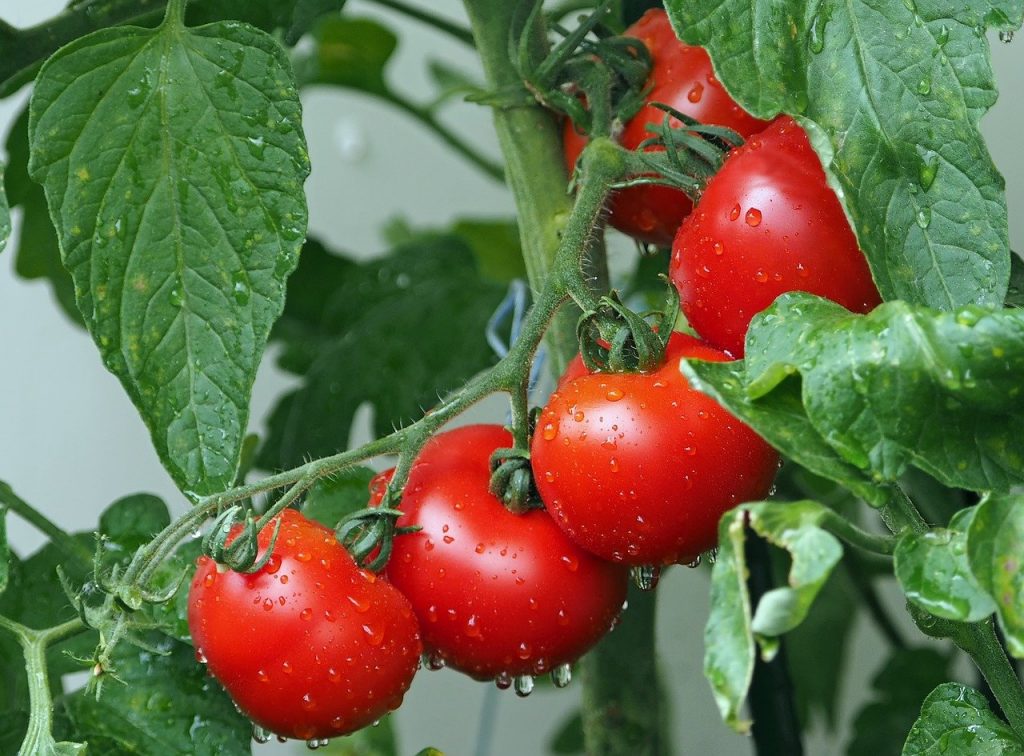
One of the most important aspects of food photography is colour. Shooting in unfiltered, artificial light exposes you to the risk of orange or yellow casts, which can ruin even the most perfectly composed photos. Natural, diffused daylight is preferable because it avoids harsh shadows and exposure problems.
Manage Your Shadows
Harsh shadows can be distracting, and no shadows at all can make an image appear remarkably fake. While great food photography is frequently meticulously staged, the viewer prefers to see it as spontaneous and natural. Subtle shadows, which are typically achieved when shooting with diffused fill or bounce light, can add depth and dimension to your photography.
Use Color to Reinforce the Story
Is your food telling a soothing and comforting storey? To elevate the storey, use calm and soothing tones for textiles and props. Is your food telling a vibrant or passionate storey? Colours that are bright and dynamic can help to reinforce that message and create an especially powerful image.
Consider Ingredients as Scenic Elements
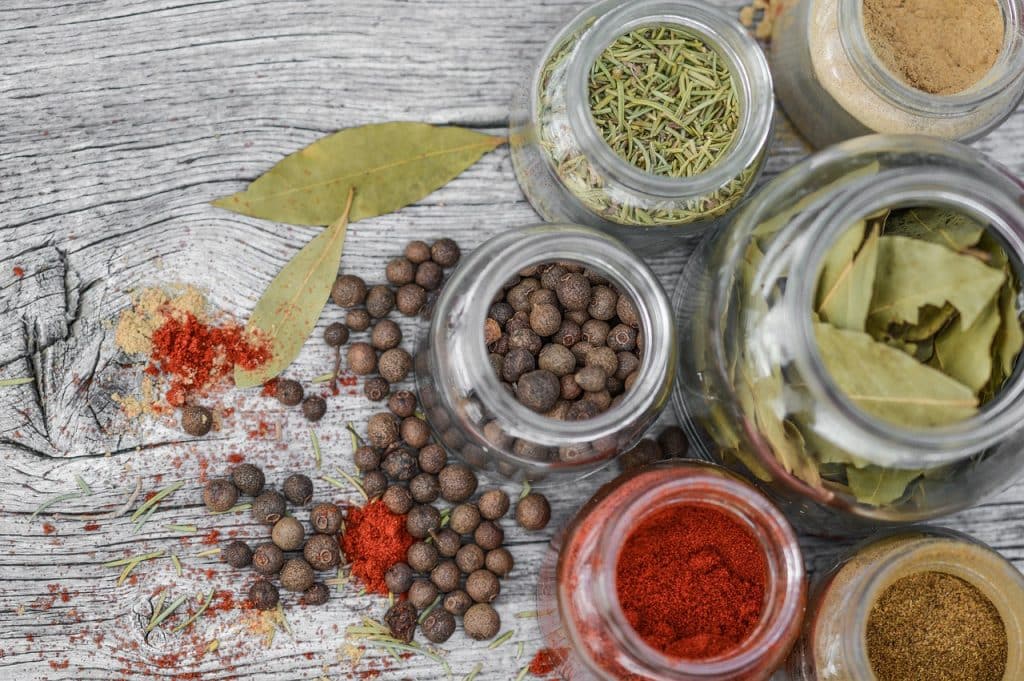
Including ingredients in your composition can help tell the recipe’s storey. Many vibrantly coloured spices are also very photogenic. If your composition is already crowded, you might want to save this technique for another shoot.
Include a Human Subject

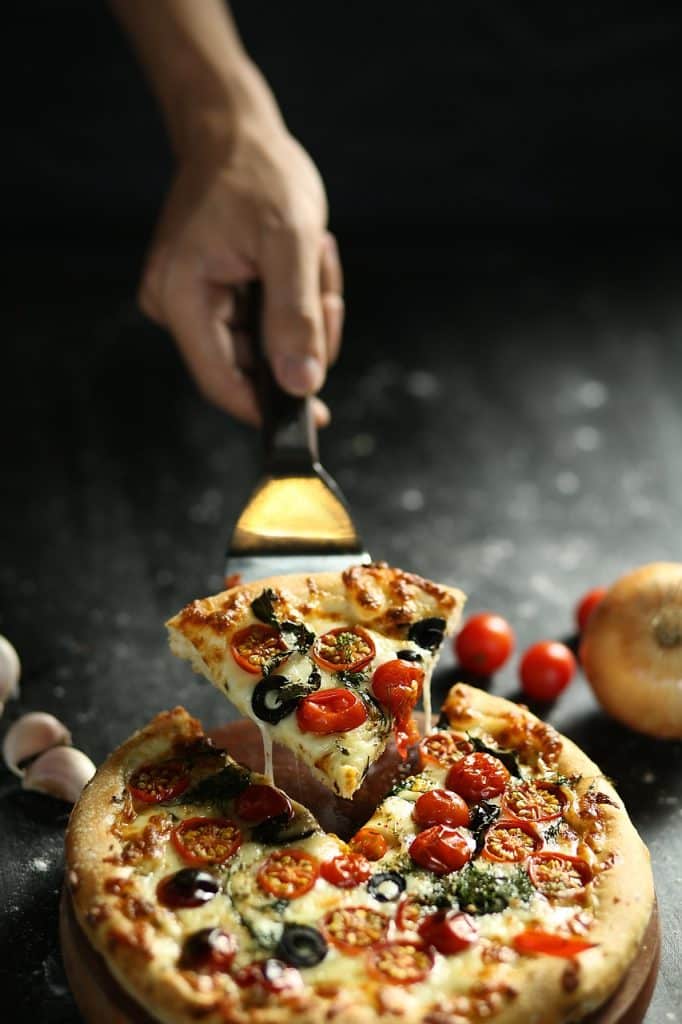
Incorporating someone’s hand or arm, shooting over someone’s shoulder, and so on are all ways to add another layer to the storey your photograph is telling. Adding a human to your shot, on the other hand, can complicate matters. You’ll need to think about and adjust things like lighting, depth of field, and framing, to name a few.
Don’t Be Afraid of Post-Production
Even if you’ve mastered the above techniques, you may still want to enhance the colours of your food in post-production. As with all post-production editing, try to strike a balance between the desire to create a striking image and the need to keep the image believable.
Note: If you want to make some adjustments to the photo just let me know. I can do it for you at a very low cost. You can hire me to edit your photo.
LATEST POST
- Best web design companies in TrivandrumRainx LLP, Oregon Technologies, Redwet Solutions, and Globify Digital Solutions are among the best web designing company in Trivandrum, specializing in website development.
- Create a Digital Business CardCraft a digital business card that showcases your unique brand and personality. It’s simple to share and easy to update whenever needed. Plus, you’ll benefit from a free domain, hosting, and effortless social media integration. Ideal for professionals in any field!
- DeepSeek AIExplore the significant differences between DeepSeek AI and ChatGPT. Experience a more efficient and cost-effective AI solution tailored to your needs.
- AI tools for resume buildingExplore the best AI tools for resume writing freely to create your professional resume to stand out in an interview.
- Answer Engine OptimizationDiscover the key differences between AEO and SEO. Learn how Answer Engine Optimization can boost your online presence when combined with SEO strategies.

