The Best Way to Photograph the Moon
Have you ever looked up at a full moon in the evening sky and felt as if you could reach out and touch it? The moon has always been shrouded in mystery. Some claim it has an impact on human behavior, sleep, and ocean tides. Hospital emergency rooms and jails are said to fill up whenever there is a full moon, and there have been numerous reports of strange occurrences in general during a full moon.
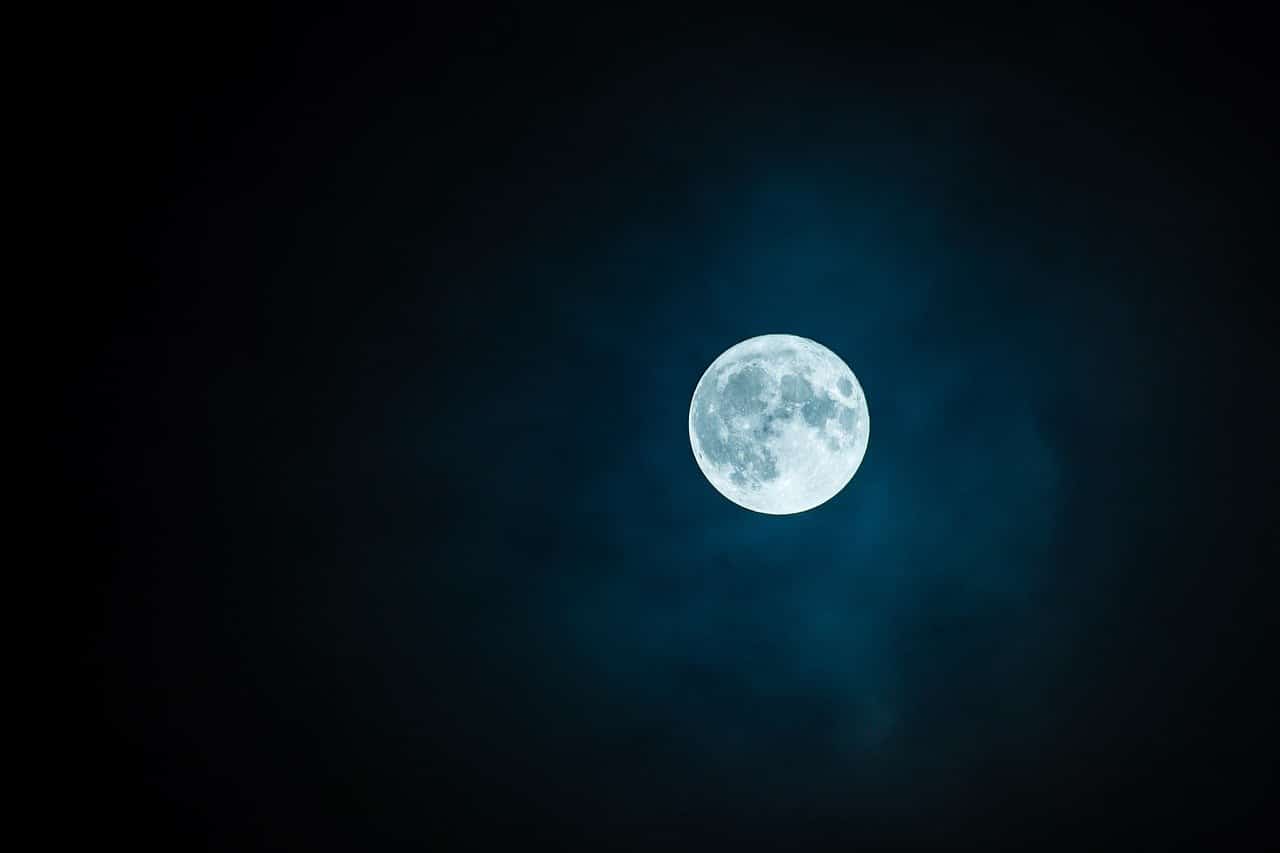
Because it is the largest and brightest celestial object in the night sky, the moon is magical and relatively easy to photograph for photographers. Fortunately, the moon is large enough that you can photograph it with a standard telephoto lens. The moon is much brighter than you might think, and it is easily overexposed. However, it is bright enough that you can use a shutter speed that is fast enough to avoid the need for a tracking mount. It takes time and practice to get the right exposure.
Moon Photography Ideas
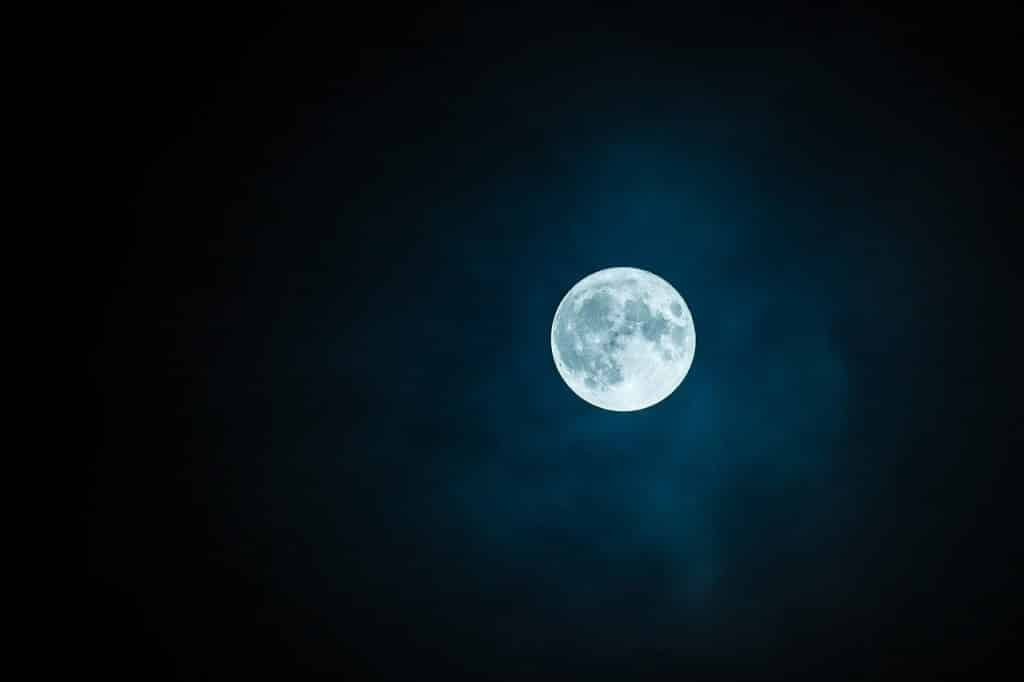
Getting great moon shots requires some planning, the right equipment, the right settings, experimentation, and patience. So, how exactly do you photograph the moon? If you want to get a good moon shot, you must consider several factors. We have some helpful tips for setting up your camera and the equipment you’ll need to get a great shot.
Location
Before you go out with all your gear, it’s a good idea to know where the moon will rise and in which direction it will rise. If you need help finding the ideal location, try PhotoPills, a free app available on the Apple App Store and Google Play.
Recommended Gear
A DSLR (in manual mode) and at least a 200mm telephoto lens are strongly recommended. To avoid camera shake, no matter what type of camera you’re using, a tripod is a must. A tripod will also allow you to photograph the stars at slower shutter speeds. Because you’ll be using a longer focal length, you’ll want to keep your camera as steady as possible to avoid camera shake.
Timing
Look for moonrise time charts on the internet. On TimeandDate.com, we recommend the Moonrise and Moonset Calculator.
Use the Moonrise Calendar to see when and where the moon will be visible, as well as when it will be most illuminated by the sun.
Wait until as late at night as possible before photographing the moon to ensure that the sky is sufficiently dark. You’ll have a better chance of seeing the moon against a dark evening sky.
RAW
If your camera has the option, we recommend shooting in RAW rather than JPEG. If you’re using a smaller zoom or telephoto lens, this is a great idea. Shooting in RAW allows you to crop your images so that more of the moon fills the frame.
Keep in mind that when you shoot in RAW, you are capturing ALL of the image data from your camera’s sensor. As a result, you can change the exposure, contrast, blacks, shadows, and brightness. Using RAW to make adjustments will help you bring out the stunning detail on the moon’s surface.
Zoom In
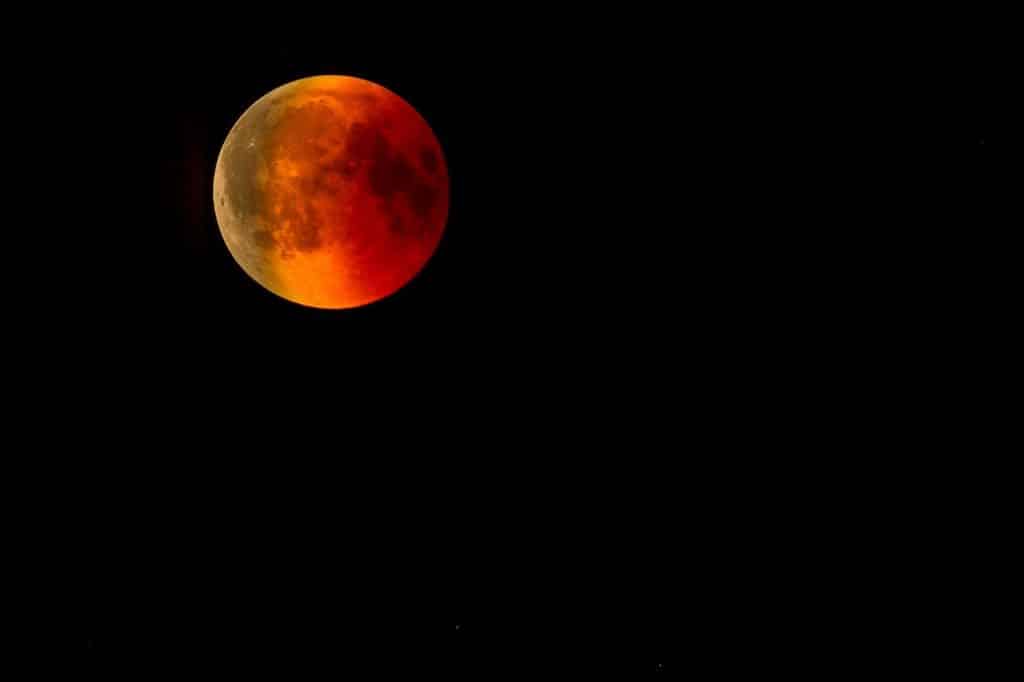
Once you’ve decided on a good time to photograph the moon, the technique is fairly simple. To get it in the frame at a reasonable size, you’ll need a lens with a focal length of 300mm or longer. A tripod will stabilize your camera, and a remote shutter release will reduce shaking even more – if you don’t have one, set the camera’s self-timer to a few seconds in the Setup menu.
Shutter Speed, Aperture, and ISO
If you’ve ever stopped to watch the moon rise, you’ve probably noticed how quickly the moon rises. It takes about 2-3 minutes from the time you first stop the moon to the time it rises above the horizon. You’ll need to shoot at a faster shutter speed to get a sharp image. Begin at 1/125 second and check your focus.
In terms of aperture, you want to be able to focus on as much of the lunar surface as possible. As a result, avoid shooting at 2.8 and an aperture of around f/9. Start with ISO 400 and work your way up to 800 if necessary.
Use a Remote Shutter Release or check to see if your camera has an app that allows you to fire it from your smartphone. Set the self-timer to 3 seconds if you don’t have a Remote Shutter Release or remote firing capabilities, so the camera is perfectly still when the shutter goes off.
Double Check your Focus
Turn off automatic focusing and manually focus. If you want to photograph the moon, getting a sharp image is just as important as getting a properly exposed image. When previewing your images, zoom in and double-check the exposure and focus. Consider using the Live View mode, then zooming in and manually focusing on the moon’s surface. Check your focus on a regular basis to ensure that your images are razor sharp.
Condensation
If you live in an area where the temperature drops close to freezing at night, you should be concerned that moisture in the air will condense on your equipment. Condensation in your camera, viewfinder, lens and back screen can cause serious issues. Allow your camera gear to adjust to cooler temperatures to reduce the possibility of condensation. You may encounter some condensation, so check the weather before venturing out.
Note: If you want to make some adjustments to the photo just let me know. I can do it for you at a very low cost. You can hire me to edit your photo.
latest post
- Best web design companies in Trivandrum
 Rainx LLP, Oregon Technologies, Redwet Solutions, and Globify Digital Solutions are among the best web designing company in Trivandrum, specializing in website development.
 - Create a Digital Business Card
 Craft a digital business card that showcases your unique brand and personality. It’s simple to share and easy to update whenever needed. Plus, you’ll benefit from a free domain, hosting, and effortless social media integration. Ideal for professionals in any field!
 - DeepSeek AI
 Explore the significant differences between DeepSeek AI and ChatGPT. Experience a more efficient and cost-effective AI solution tailored to your needs.
 - AI tools for resume building
 Explore the best AI tools for resume writing freely to create your professional resume to stand out in an interview.
 - Answer Engine Optimization
 Discover the key differences between AEO and SEO. Learn how Answer Engine Optimization can boost your online presence when combined with SEO strategies.

